Automatic Transmission Inside Pan Protection Magnets x 2
Kent is a firm believer in using these strong magnets inside a transmission pan to help extend its useful life.
They should be placed toward the rear of the pan as shown in the picture below.
Kent is a firm believer in using these strong magnets inside a transmission pan to help extend its useful life.
They should be placed toward the rear of the pan as shown in the picture below.
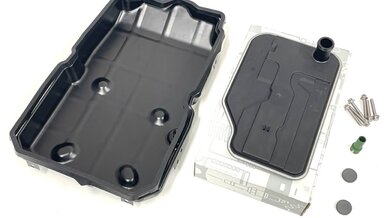
For ALL 2003 to 2010 7-Speed automatic transmissions( early 722.9 WITHOUT option code A89 indicating reduced friction). These are the 7G transmissions that use the red fluid with the shallower transmission pan. This is a complete kit for your transmission 40K service, not including the fluid.
2FREE limp-home troubleshooting video included! Be forewarned! It is not as easy as it looks on some YouTube videos to remove a valve body and conductor plate from an early 722.9 transmission.
Kent and others have seen valve cover leaks return within a few years after resealing. Some feel this may be a design flaw, but I contend the job was never done right in the first place. Let Kent explain why the leaks come back...
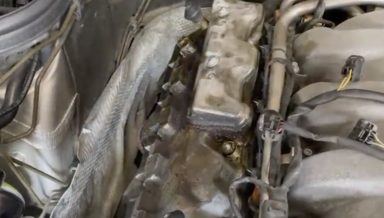
They can often be reused if you carefully cut the hardened rubber away from the coupling. If you prefer new here you go. Three are included here and that is the total used on your V6 or V8 engine up through 2006.
Depending on the age and mileage of your V6 or V8 engine, this part may or may not need to be changed when you replace the breather hoses. You can check before ordering. If the part is still soft and rubbery, then it most likely can be reused.
Anytime you need to replace your rear shocks/struts, you must drop the rear control arm. If you are doing other rear suspension work, you may need to drop it as well. Kent came up with this tool kit when he was converting his SL500 to conventional coil-over shock absorbers.
In this 20-minute instructional video, Kent will show you the steps on how you can replace the "hidden bushing" in the rear control arm by yourself without having to take the control arm off the car.
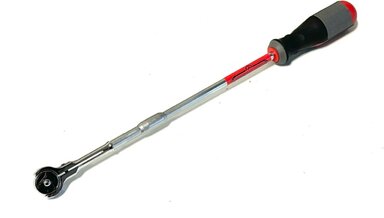
When you need the torque, this will deliver.

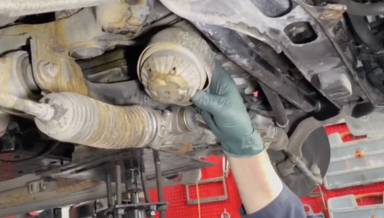
If you own an older Mercedes with the 7-speed 722.9 transmission and the car has over 120,000 miles, the day may come when the transmission will suddenly not shift or not shift past 2nd gear. This is more likely to happen if the transmission has no fluid and filter changes every 40,000.
Removing the valve body is not difficult, but it is fraught with risk. It is easy to damage the conductor plate if not removed properly, and that can be a very expensive mistake.
If you are planning to remove your 722.9 conductor plate for inspection or repair, you will want to take the time to thoroughly clean the plate, the valve body, and the solenoids. No cleaning agents or foreign chemicals should be used.
GEAR WRENCH BRAND!
To prevent potential fluid weeping on the end of this pipe fitting that attaches to the right side of the transmission, you might want to replace these o-rings if you end up removing the pipe during your 722.9 transmission service.
Since there are no dipsticks on these transmissions, the DIY way to check fluid level is from under the car with a touch-free thermometer to measure the heat of the transmission fluid BEFORE setting the correct level. Instructions are included with my full 722.9 transmission fill kit.
You want your 2003 to 2010 7-speed transmission to last - this you should absolutely do.
It is really frustrating when you doing a job on your Benz and find it needs a 16mm or 18mm tool and you don't have it. Most of the older sets of wrenches and sockets did not include these two sizes. Just before and after 2000 Mercedes started using more of these size nuts and bolts.
We love the quality of Bremi wires. Kent prefers them on his own cars. We even throw in some silicone grease and show you how to apply it.
In this 10-minute installation tip video, Kent will show you a few things you need to be careful about when either installing new coil packs or ignition wires in your 1998 to 2006 V8 or V6 engine.
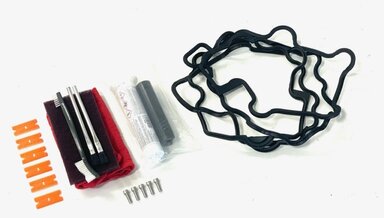
Kent, as well as others, have seen valve cover leaks return within a few years after resealing. Some feel this may be a design flaw, but I contend the job was never done right in the first place. Let Kent explain why the leaks come back...
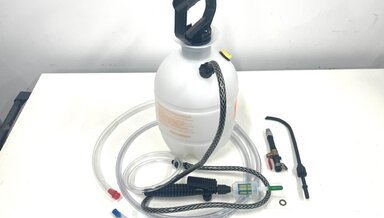
WHY does Kent stress doing this yourself - because my shops do not take the time to thoroughly clean and prep the covers for the proper sealant, or they do not use the proper sealant or use quality gaskets, or torque the bolts properly.
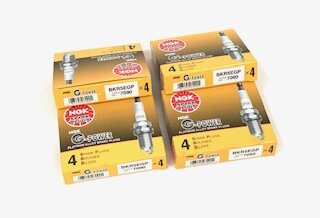
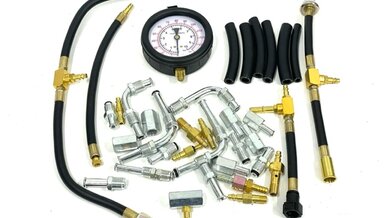
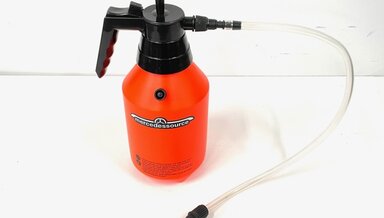
It comes with a special fitting attachment that includes two (2) shut-off valves ( to control spills) and a clear filter to make absolutely sure you are putting clean fluid into the pan. It includes over 5 feet of hose ( 30 inches which are clear so you can see the
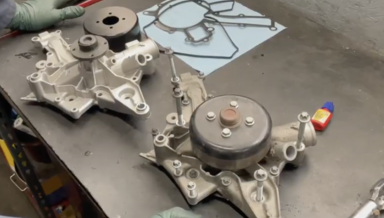
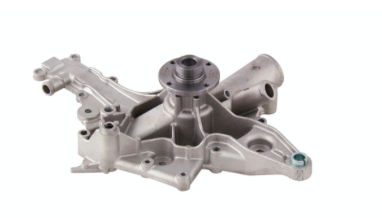
In this long 32-minute instructional video, Kent will demonstrate removing a failed water pump and replacing it will a new one on a W211 E500 with the M113 engine.
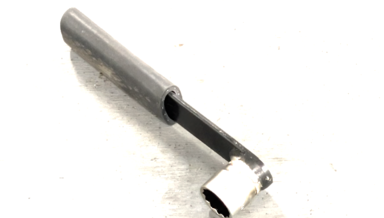
This unique tool is cut and welded right here in our shop to give you the box end depth you need to get the top motor mount bolt loose. A rubber handle serves as a grip, so you can use a pry bar to get extra torque on the bolt. Watch the YouTube video below for a full demonstration.
In this 13-and-a-half-minute instruction video, Kent will show you the critical steps in removing and replacing the motor mounts in a W211 E500. The key steps will apply to all M112 and M113 engines, although specific details are not covered for every model.
Many enthusiasts are now buying these 2004 to mid-2010 high-performance Mercedes with little thought to the transmission.
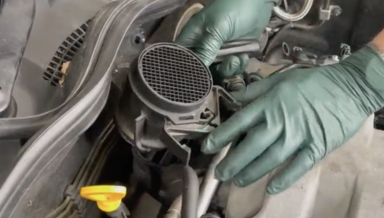
This can be a frustrating job if you do not know how the fasteners work or the correct sequence when replacing the sensor. In this 15-minute video, Kent will walk you through the R and R procedure step-by-step and will use the camera to show close-ups on how everything goes back together.
In this 12-minute instructional video, Kent will explain all his tips and tricks on getting these belts off and on easily. He will demonstrate his custom tool and how to "pin" the tensioner.
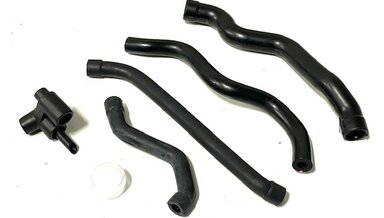
If you are working on engine valve cover oil leaks, plan to replace these hoses unless they have been recently (last five years) changed. More often than not, they can not be reused.
The hardest part of the job is the things mentioned above in the subtitle. In this 16+-minute video, Kent will go to some length to explain both on the bench and on the car how to deal with getting the belt off and back on.
AFTERMARKET SEALS. These seals getting totally neglected. I consider the bottom one the "forgotten" seal on these engines. They can be very frustrating to change out if you don't know the right sequence.
This very common wear part is easy to inspect and easy to replace if you know how to loosen the drive belt. You do not need to take the belt all the way off - just drop the top down.
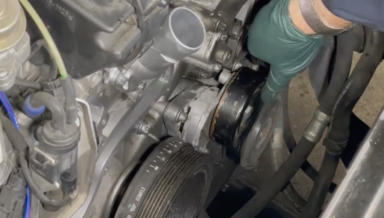
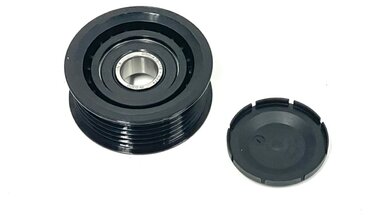
This pulley is usually replaced when you replace a worn-out and high-mileage water pump. If your pump is good and you just need to replace the pulley, you can do this very quickly by just loosening and dropping the drive belt.
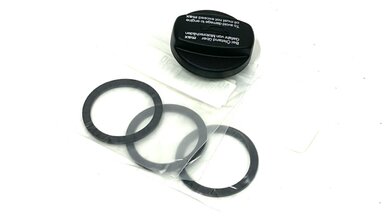
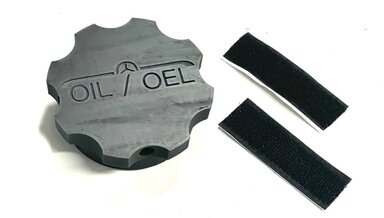
You will not believe the difference a new cap can make in terms of ease of removal. It wont last forever due to age and heat. So when it starts getting hard to remove you can just replace the seal and put a little oil on it! What a great kit!!!
For most U.S.
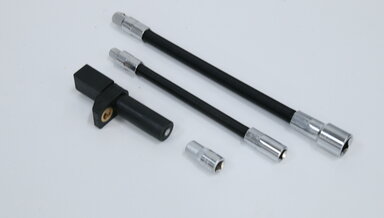
Includes a long 3/8 inch breaker bar with offset swivel head, correct socket, plastic mirror, and locking pin. You add another extension with a bigger deep socket on the end to make the job a snap. Watch the video below for a full explanation of this tool and how it works.
This is a common preventative replacement item as these engines age. No instructions are available at this time but there is plentiful information online to guide you in replacement.
This is a 5-minute instructional video to show you how to attach an inline magnetic filter to your power steering system. Great protection and easy to do. You will lose some fluid unless you pinch off the hoses before cutting out a section to install the filter.
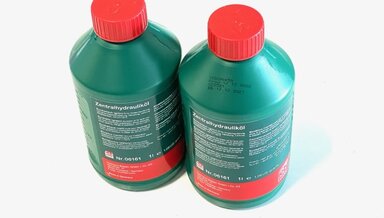
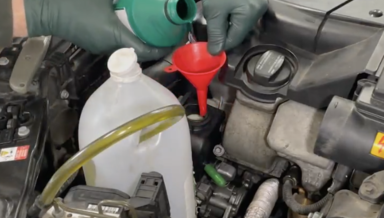
This is the Febi Bilstein green 06161 power steering fluid for your M112 and M113 engines. You will need about 1.5 liters to do a complete flush. What about Petosin fluid, you may ask. Watch the video, and Kent explains why he uses this fluid as a direct replacement.
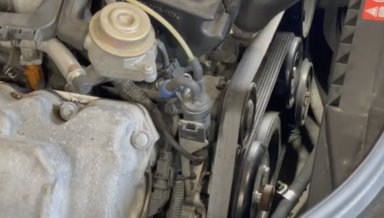
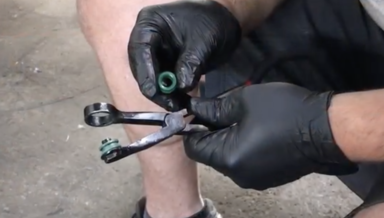
Kent designed this set of tools to easily pry off the C-clip holding the fluid tank onto the power steering pump, AND to put it back on after replacement. This can be nearly impossible without these tools. The clip comes off and goes back on VERY HARD.
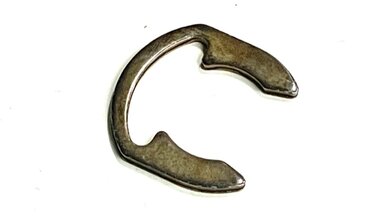
This clip is unique to these engines. The picture below will show you where it is attached to the fluid outlet tube on the tank. This is a genuine Mercedes part.
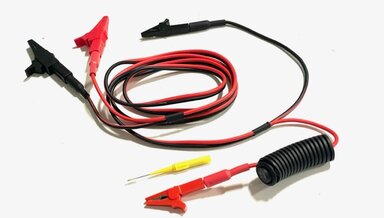
The leads are black and red and three feet in length. The alligator clips can be removed to give you other options on how you use them.
In this 6-minute instructional video Kent will show you how fully bleed the air out of the power steering system on V6 and V8 engines from 1998 to 2012. This will get rid of that annoying squeal when you turn the wheel. This happens after doing a flush or replacing a power steering pump.
Kent finally got so frustrated trying to get these oil caps off that he came up with this new tool he chose to call the wrist saver. Watch the video to see this unique tool in action.
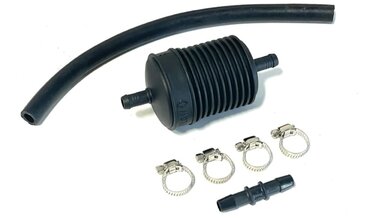
This magnetic inline filter can give additional life to the power steering fluid on the M112 and M113 engines ( V6 and V8 from 1998 to 2006). The filter has 3/8 inch nipples and can accept a 3/8 inch hose ( size normally found in the return hoses on M112 and M113 engines.
For 1998 to 2006 chassis only mentioned in the title. This includes the W210 E55. But Please, Please READ. Does not work with ABC suspension. Does NOT work on SL55.
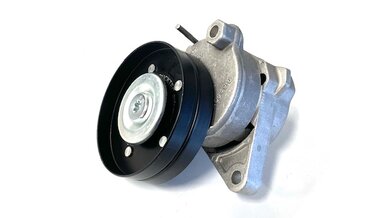
Quality aftermarket part. If over 80,000 miles, replace this part when you replace your serpentine belt. Kent's custom tensioner tool is available separately below to help make the installation of this new tensioner a "snap." This will not fit ANY AMG models!
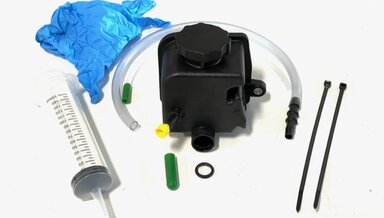
In this 24-minute instructional video, Kent will walk you through removing your old fluid and reservoir tank on top of the power steering pump, installing the new tank, and flushing the system with new fluid. This is a service you can indeed do yourself in your garage.
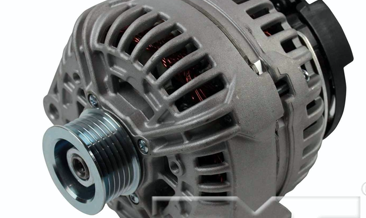
PLEASE NOTE: This is a special order item and may take up to 8 days before we can ship. We can let you know an estimated shipping date. Limited stock. New alternator as shown.