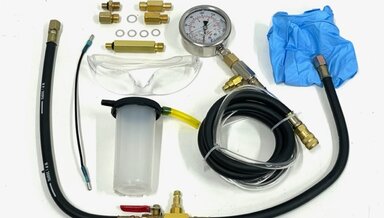
$19.75
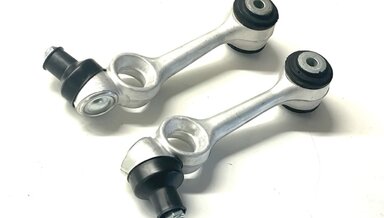
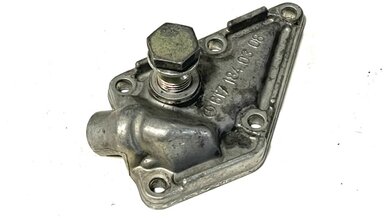
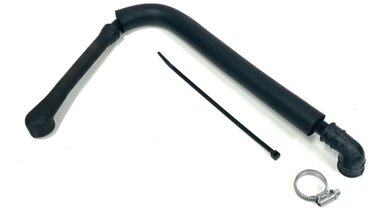
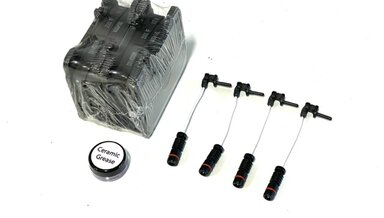
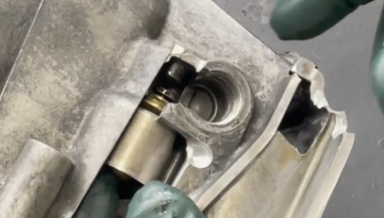
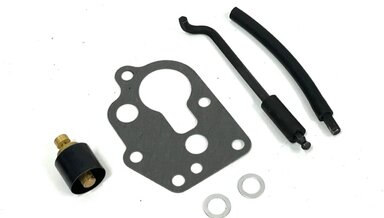
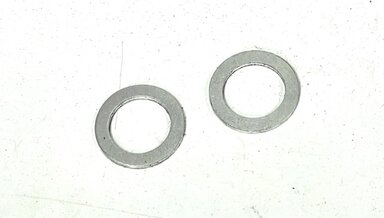
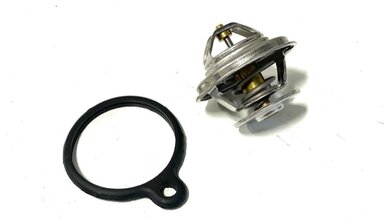
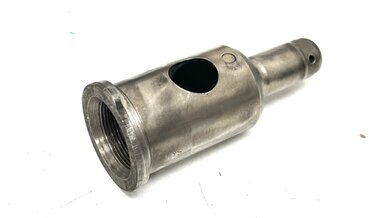
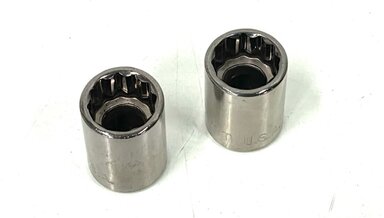
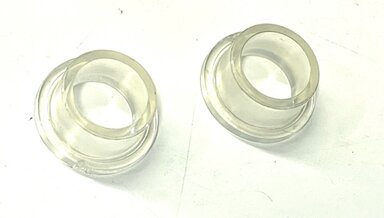
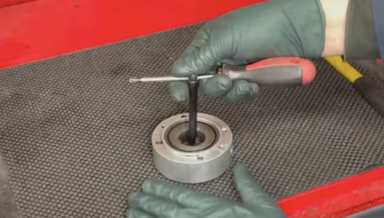
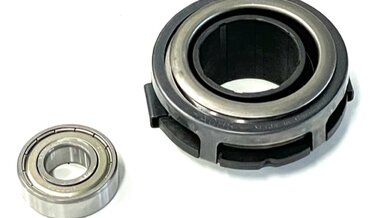
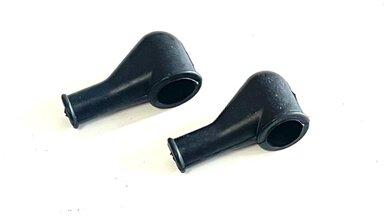
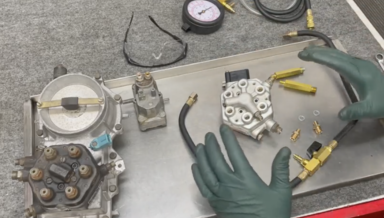
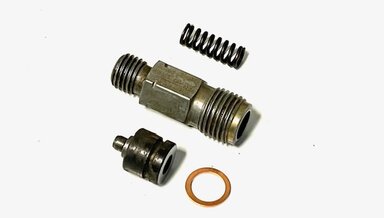
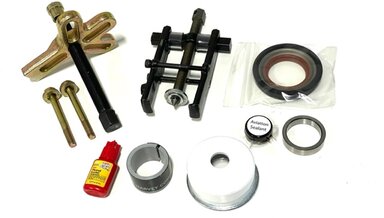
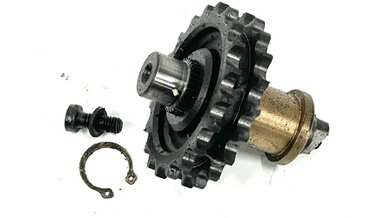
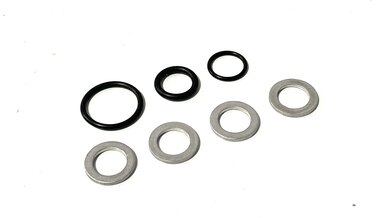
1981 to 1984 722.3 Transmission Pesky Leak Fix Kit
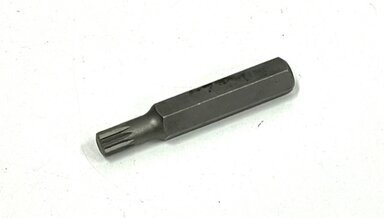
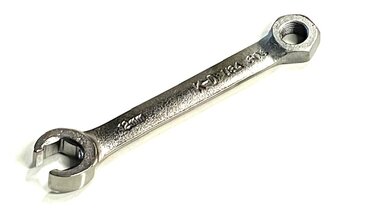
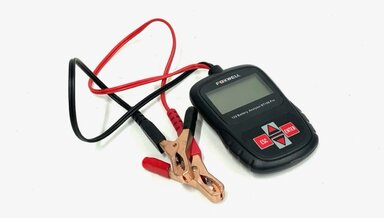
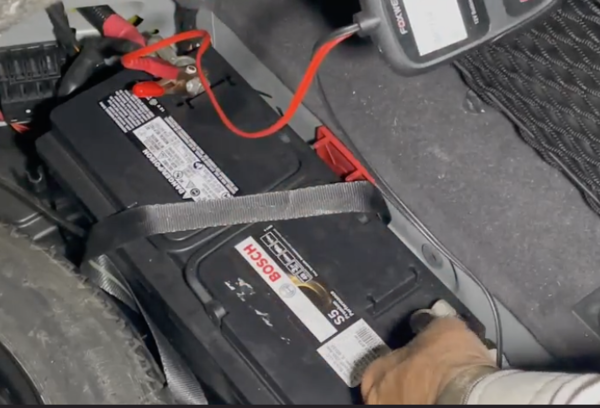
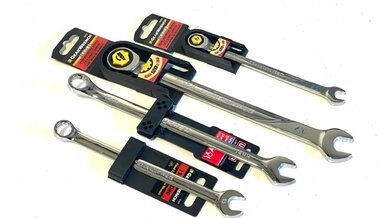
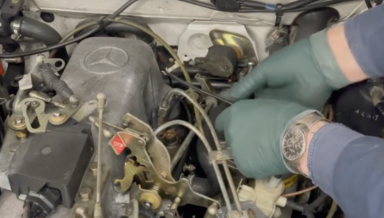
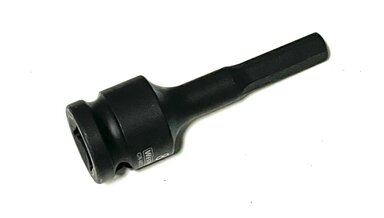
For 5-cylinder turbo diesel engined 300D 300CD 300TD and 3000SD. Tool not included ( purchase separately below).
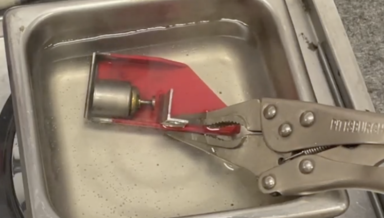
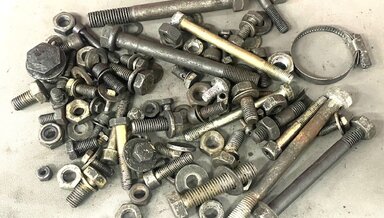
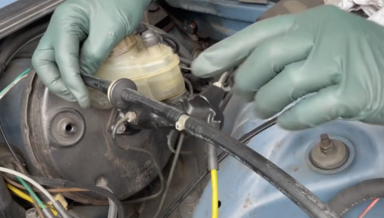
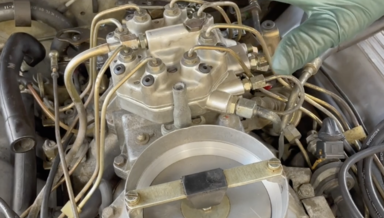
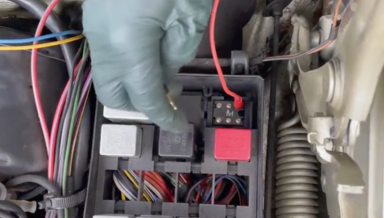
These transmissions are now 40+ years old, and with age comes hardened o-rings and seals, leading to what I call "pesky" leaks.