$65.00
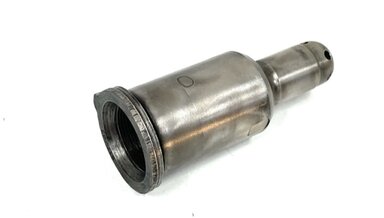
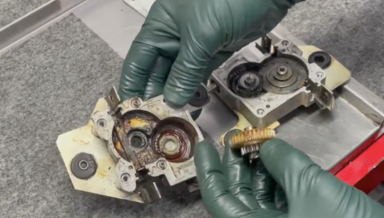
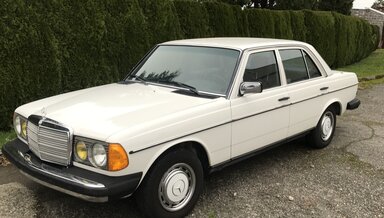
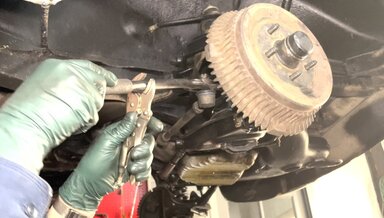
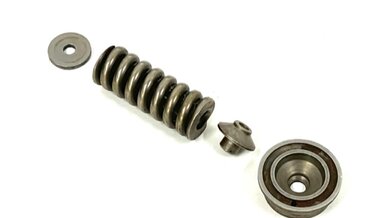
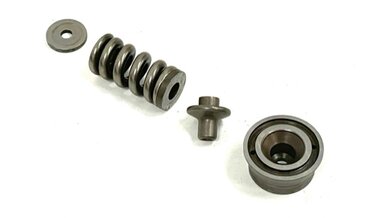
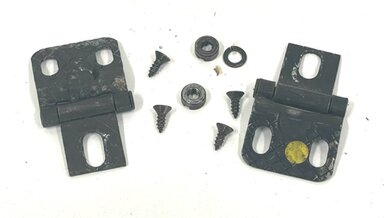
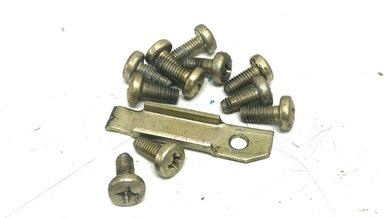
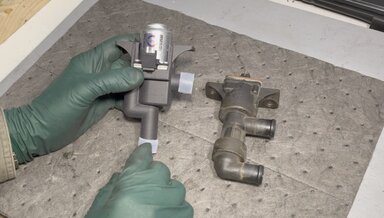
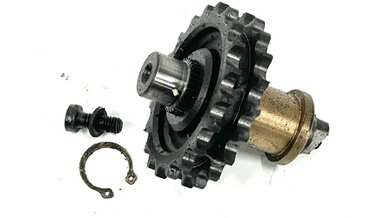
Mercedes W123 300TD SLS Pump Driver Gear and Bushing - USED
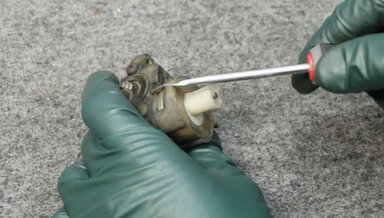
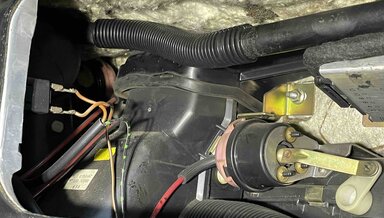
Located in the left front side of the cylinder head. For all wagons from 1980 to 1985. Gear drives rear suspension hydraulic pump
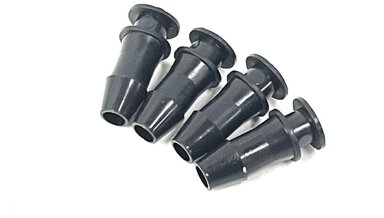
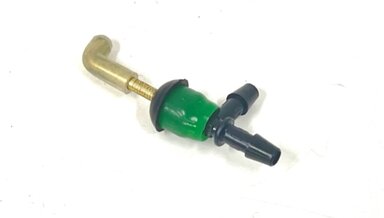
Good used sprocket and bushing as shown.