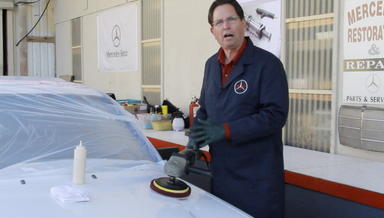
On Demand Video
$9.99
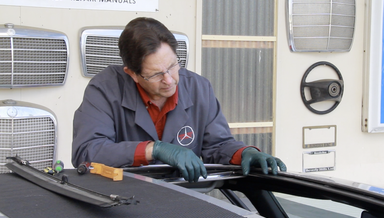
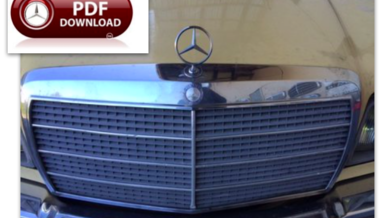
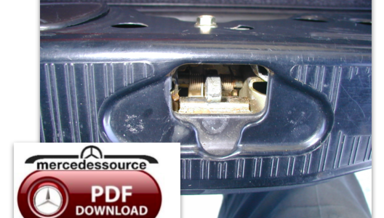
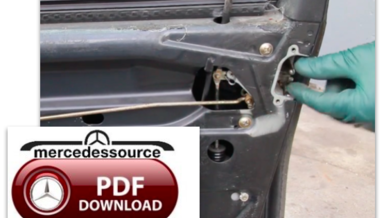
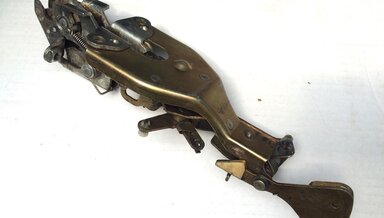
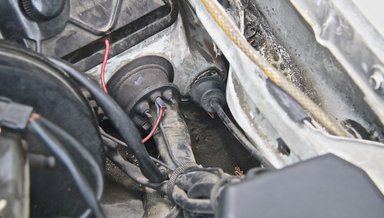
Cleaning, Servicing and Repairing W123 Water Drains and Surrounding Area - On Demand Video
Learn how to do this on a regular 6 month basis or you could suffer some serious consequences
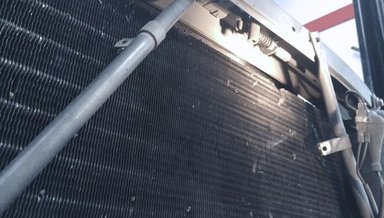
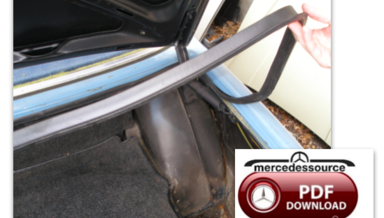
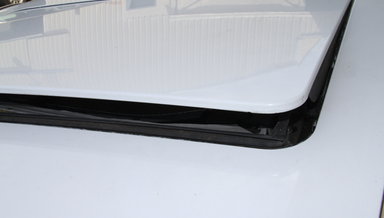
DO NOT neglect your W123 hood hinge and firewall corner drains. The problems plugged drains can create arre many and the 123 sedans, coupes and wagons are more prone to front plugged water drains than any other model.