$12.25
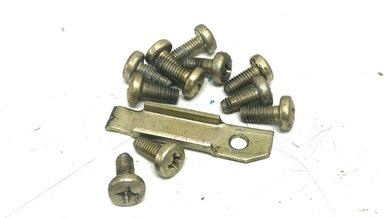
W116 W123 Seat Track Hardware
You lose some of these screws it is hard to find replacements
Used seat track hardware as shown.
Kent's Factory Service Manuals collection is going on sale now. CLICK HERE.
Used seat track hardware as shown.
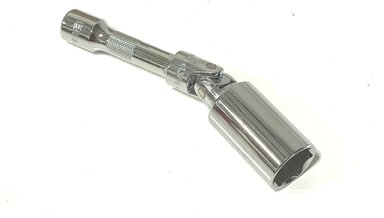
This universal 13/16-inch spark plug socket comes with a 3-inch extension. On some V8s, you have very limited room to get to the rear sparkplugs. You can add another extension for open access to bring the ratchet wrench out in the open.
For years I just used old shop rags to catch the drips - until I found this! What a great solution. Watch the video below for more details
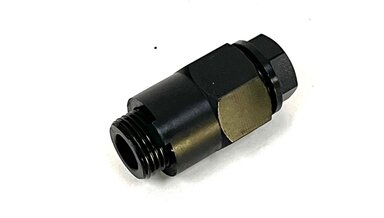
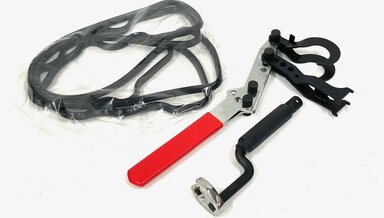
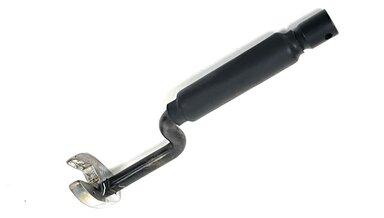
Tightens and Removes Collar Nuts on 220D 240D 300D 300CD 300TD 300SD 300SDL 190D 2.2 1969 to 1987. Works on most Mercedes diesel engines up through 1987 only.
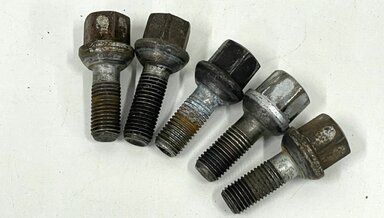
Fits all Mercedes models with the 14" Alloy bundt cake style wheels. The measurements are M12x1.5mm by 51mm overall length. This is a set of five USED wheel bolts that are not all rusty.
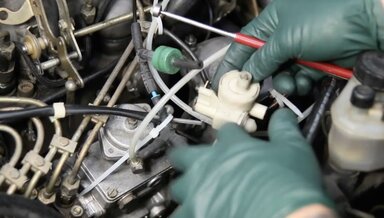
In this 17 minute instructional video Kent will walk you through removing and installation a VCV valve off the back of the injection pump and the proper way to adjust the linkage travel for best performance. A number of tips will be shared to reduce frustration and prevent problems.
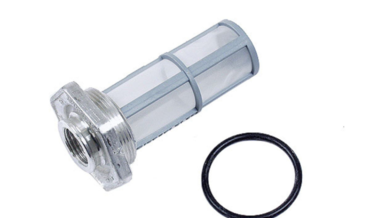
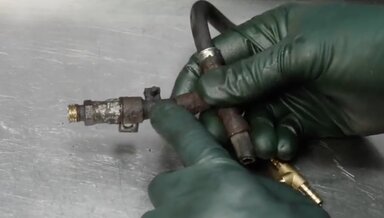
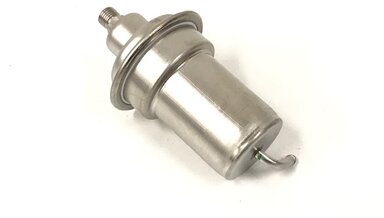
It has now become essential that you replace this filter screen on these old cars, especially if they have been using gasoline with ethanol in it and the car has sat or sits for long periods without running.
Why do you need to do this? Valve clearances are supposed to be adjusted on these early V8s every 10,000 miles. You can imagine why this does not get done! Add to the fact owners can not find the right information or tools and it makes neglect even worse Why not on later model years?
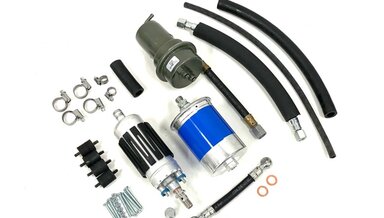
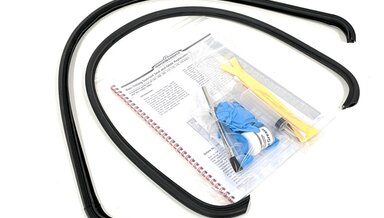
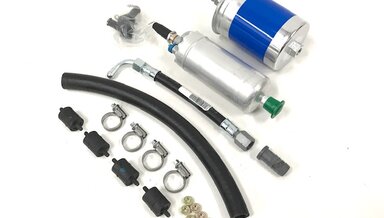
This is our most complete FID kit yet. Kent wanted to make sure you would have all the parts you need including hardware.
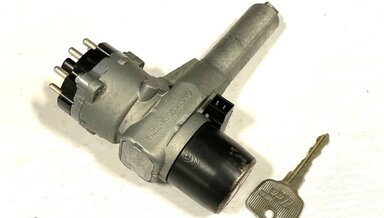
This was removed from a vehicle and was tested. ONLY ONE KEY but it is the low-security key so easy to get a duplicate made. Very good key movement, good working electrical switch, and door buzzer switch mounted. Fits Early 107 and later W116 chassis only ( see list in title )
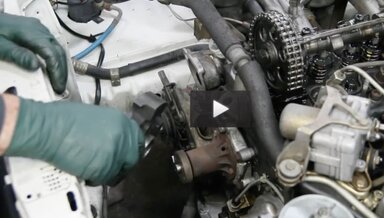
This video ONLY covers some of Kent's "tips and tricks" on installing a harmonic balancer back onto the front of the crankshaft on an old Mercedes engine. The specific procedure was filmed while doing a front crank seal replacement on a 1983 240D.

We starting using some of these to plug brake lines while changing out calipers. Then we started using them on fuel and oil hoses. Now we are using them all over the place and keep finding new uses for them on a monthly basis. These are a MUST HAVE! Watch the video below to become a believer!
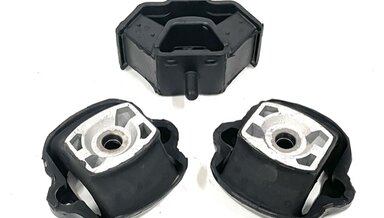
On the average W116 300SD nine out of ten times we find these mounts rotten, soft, or collapsed. It is often just due to the age of the rubber. Have you noticed your engine is shaking more at idle? Maybe you are noticing new vibrations that were not there before.

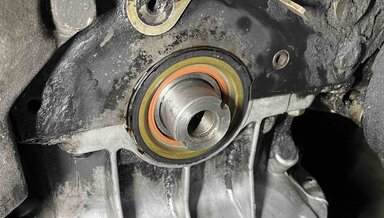
Kent modified this puller and developed a procedure to remove the front crank seal race so the job could be affordable from the DIY mechanic. This costs less than half the cost of the factory tool.
Valve clearance adjustment should be done every 10,000 to 12,000 miles. Recently emails started coming in - "we can not find any valve adjustment tools for our earlyV8 - help!" Most companies are currently noting the old factory-style tools are no longer being manufactured, so we went to work to
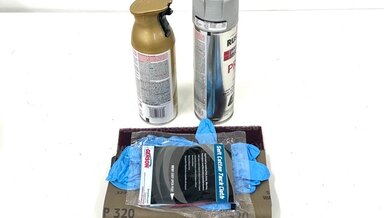
Cad plating can be expensive but is great for show restorations. If you just want to make those parts on your old Benz look good then this is the closest paint Kent has found to looking like cadmium gold plating. Check out the pictures below of the fuel delivery brackets he did with this paint.
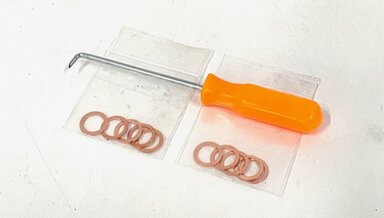
Did you hear these are not available? No part number anywhere? Well, as the source we went to work and made it happen. You can now purchase the correct copper sealing rings for your OM616 and OM617 injection pump delivery valves.
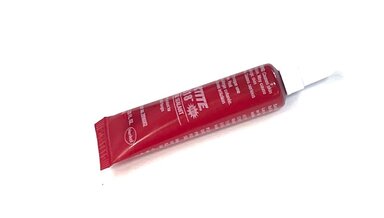
Here is my all-time favorite gasket maker and sealant. You may already know how I feel about RTV silicone products (I think they should be outlawed!). We have had a number of our customers ask us where to get this so we decided to offer it on our website.
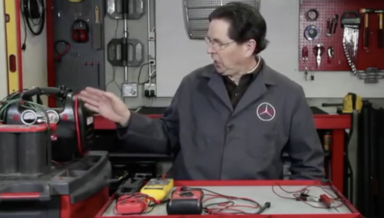
To many people, automotive electrical systems and testing are a big mystery. It is not as complicated as you might think.
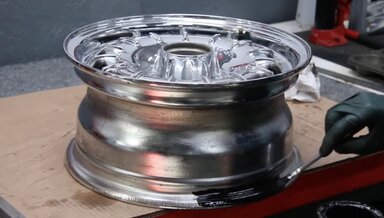
In this video, Kent will show you how he fixed his leaking tires on his chrome alloy wheels by using Miracle Paint. This is a full 22-minute step-by-step instructional video. Watch the video "trailer" below to give you a better understanding of what is involved in this procedure.

This kit was developed by Kent primarily to fix leaking chrome wheels. The free on-demand video that comes with this kit shows the detailed process of cleaning and filling the corroded areas along the edges of the inside of the wheel to seal them and stop annoying tire leaks.
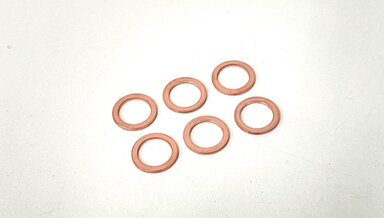
When doing a compression test you must properly seal the inner surface of the pre-chamber with the fuel injector hole adapter. Copper washers work the best for this to ensure a 100 percent seal. Do not use the engine's heat shield washers.
This 25-minute video is a supplement to Kent's other instructions on replacing diesel engine front crank seals. It is offered free of charge with one of the seal replacement kits.
In this video Kent will share some set up tips as well as explain what is in the compression tester and an overview of how it is used.
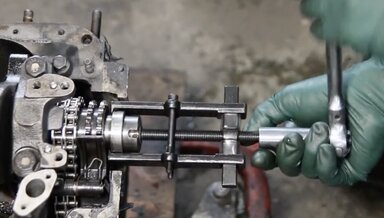
This video will show you how to remove the front crank seal race using the factory tool and using Kent's custom puller. It will also demonstrate a very easy way to install a new replacement race before installing a new seal.
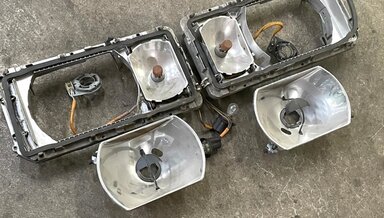
When you see how clean these are you realize they were not mounted on a car very long. This is a set of right and left frames with good reflectors. Will need cleaning and polishing, bulbs and glass lenses to complete.
See the related products below to purchase individual seals with tools and Kent's video instrucitions.
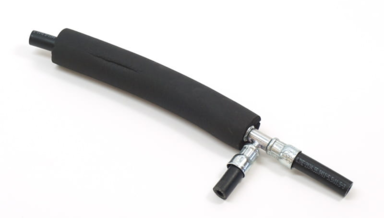
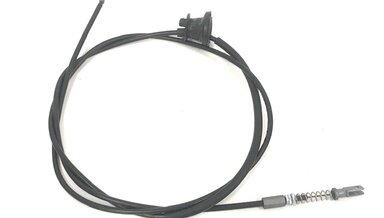
This hose assembly was used on the fuel delivery systems in the late 1970s and early 1980s. Installed on some R107 450SL and 450SLC, W116 450SE / L and 280SE, and the W123 280E and 280CE. Be sure to check your car before ordering to make certain this hose is installed.
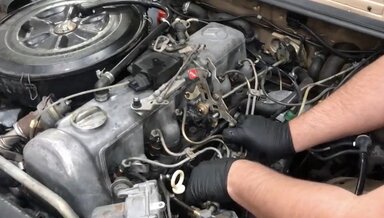
Those old hardened and discolored plastic fuel hoses in your diesel engine compartment probably need to be replaced. When they crack and break you can dump a ton of fuel out on the road before your engine quits and leaves you stranded.
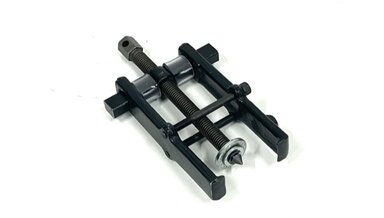
Kent modified this puller and developed a procedure to remove the front crank seal race so the job could be affordable from the DIY mechanic. This costs less than half the cost of the factory tool.
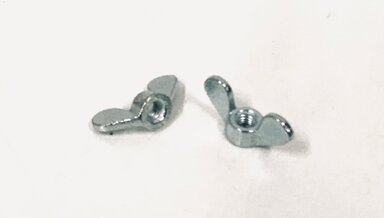
Two new wing nuts. These have wider wings so they are easier to loosen and tighten. Replace the nut that most people install after the wing nut has been lost!
PDF DOWNLOAD FINALLY AVAILABLE of our popular 'Preventing Catastrophic V8 Engine Failure' Manual!!
Applies to the following chassis: 111, 108, 109, 107, 116, and 126. Includes 3.5, 4.5, 350, 380, 450, 500, 420, and 560 V8 engines from 1970 to 1991.
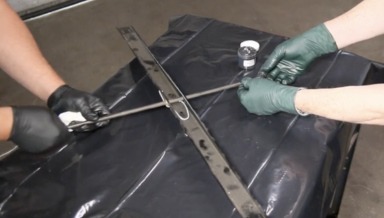
Kent will get right up behind the rear end hub plate and show you close up how to remove and replace a sway bar link. This is not a difficult job especially if you follow the sequence shown in this 7- minute video.
In this 13-minute video instruction Kent will show you how to make your own accumulator tee hose connection either using parts from. our kit ( see below) or parts you purchase yourself. This video is included free with the purchase of our kit.
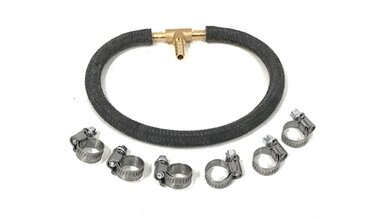
This kit will give you everything you need to fix the leaking or aged Tee hose between the fuel damper and the fuel accumulator on most 1977 to 1980 fuel delivery systems. Watch the video below to learn why this is needed.

Kent will take you over to his workbench and completely take apart a rusty and old fuel delivery system from a 1980 450SL and put it all back together again with some shiney new paint and parts supplied in his special kit for these cars. This video runs for 24 minutes.
In this 30 minute-long video Kent will walk you through what he did for the rear suspension on his 1983 240D.
Also will work on (some but not all) 1976 to 1980 280SE, 280SEL, 280SL and 280E. Brand new aftermarket fuel accumulator for the 1976 to 1985 V8 engines. It is mounted near the fuel filter under the back end of the car and hardly ever gets replaced.
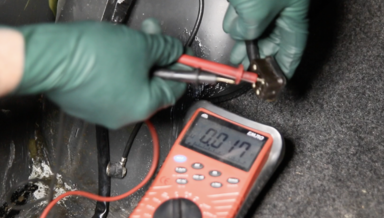
This 17-minute video will cover the removal of an old Hirschmann power antenna and then Kent will show you how to troubleshoot the wiring plug in the car to see if you are getting proper power back to the antenna. No sense in replacing a faulty antenna until you make sure your wiring is OK!
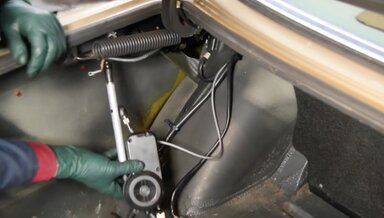
In this xx-minute long video, Kent will show you how to install our aftermarket power antenna in your 116, 123, or 123 sedan or coupe. Removal of your old antenna is not covered in this on-demand video but it is very straightforward once you remove the inner fender well panel.
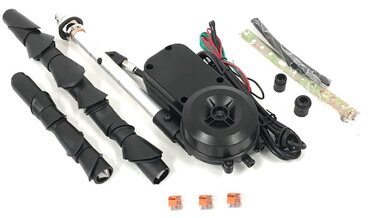
Power Hirschmann antennas are no longer available new. It is possible to remove and repair the old Hirschmanns if you are willing to dig in and spend time cleaning, adjusting, lubing, etc.
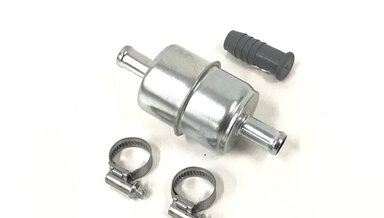
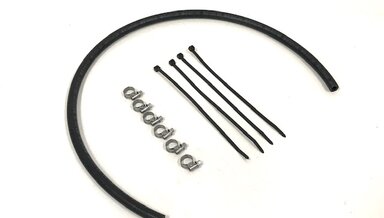
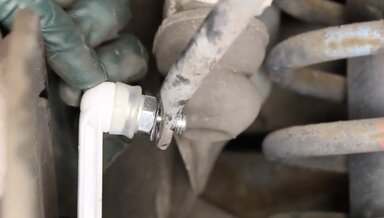
It was difficult to find a filter to fit the correct size outlet hose. Install this steel 10-micron filter in your fuel tank outlet hose to protect your fuel pump. Clamps are provided along with a pull to plug the fuel hose temporarily to reduce fuel spills.
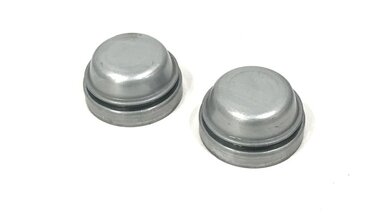
A brand new set of two grease caps as shown by Febi. Time to get rid of those ugly beat up and dented grease caps.
PLEASE LOOK AT YOUR SYSTEM BEFORE ORDERING to confirm the type of accumulator you have. ( Watch the last video below for examples )For systems with ONE HOLE ACCUMULATOR only. Some 450SL, 450SLC, 450SE, 450SEL with 4.5 and W116 280SE .
In this 28-minute instructional video Kent with show you how to do a compression test on your own Mercedes gas engine and explain how to interpret the results. It is very important you do this procedure BEFORE "throwing" parts at your engine trying to fix a performance problem.
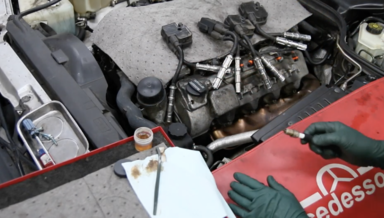
You might be surprised to realize you spark plug holes need cleaning - and yes some REALLY need cleaning! This 5-minute video will demonstrate Kent's method of cleaning the threads in the cylinder.
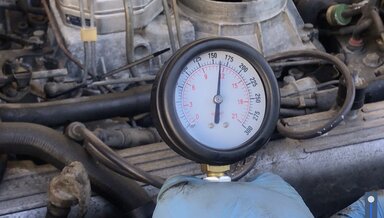
This video will walk you step-by-step through the proper procedures for doing a full compression test on your older V8 Mercedes Engine.
This video is loaded with tips on how to properly lubricate all the key components that make your sunroof operate smoothly and properly. It is NOT a complete manual on everything related to sunroofs. It will NOT show you all the details to get the sunroof out and back in.
BRAND NEW. No longer made.
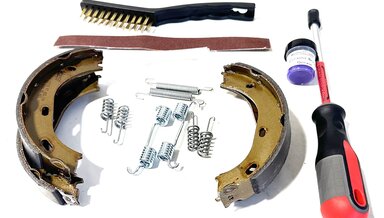
Emergency brake shoe maintenance is often neglected because the rear brake disc / rotor has to be removed to inspect and repair them. If the car has ever been driven a long distance with the emergency brake on, expect problems.