On Demand Video
$14.99
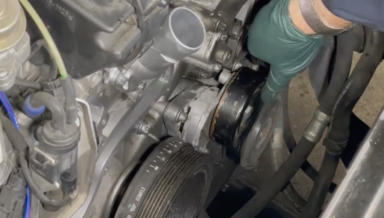
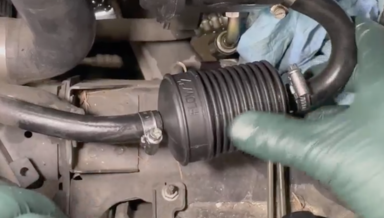
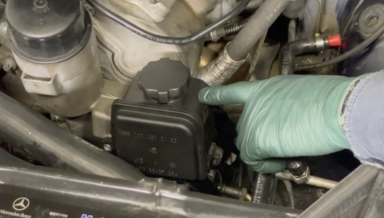
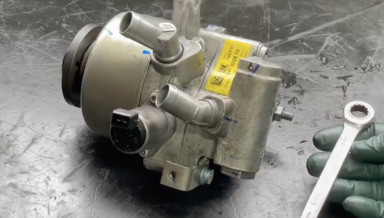
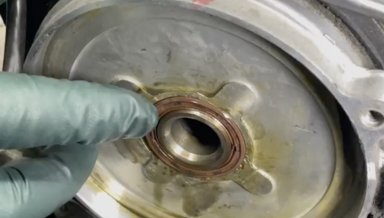
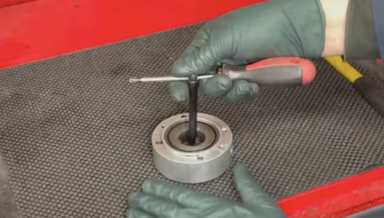
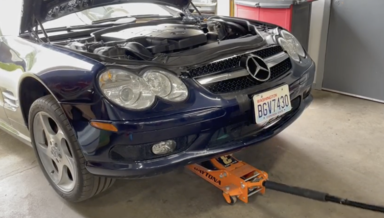
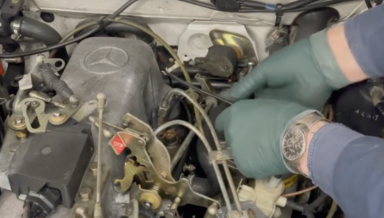
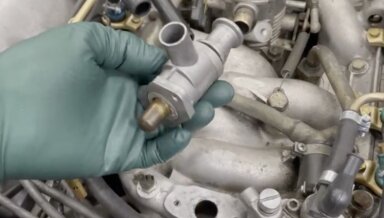
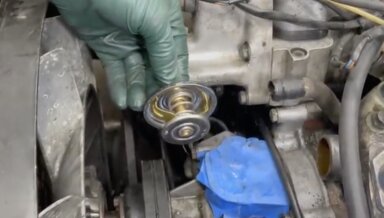
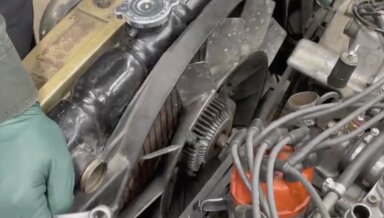
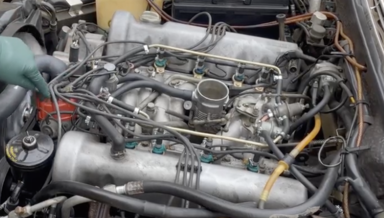
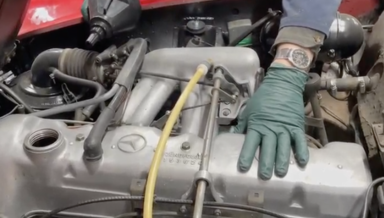
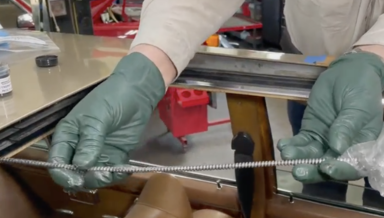
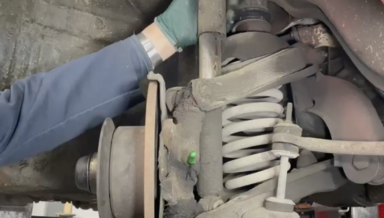
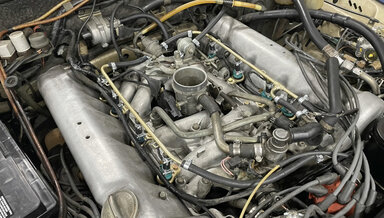
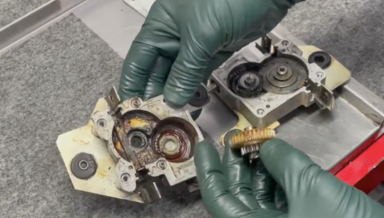
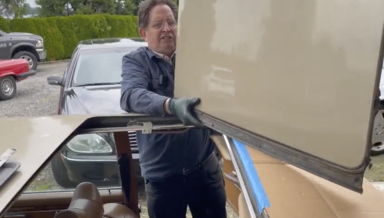
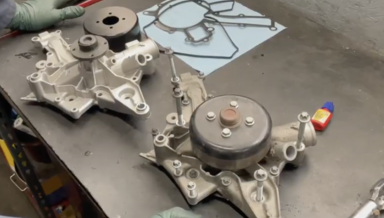
M112 V6 M113 V8 Water Pump Replacement Instructions - On Demand Video
For most 1998 to 2006 models. A very detailed and helpful DIY long video
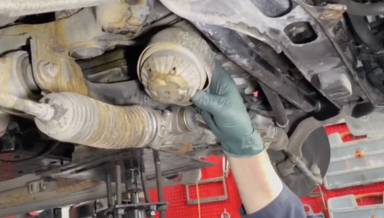
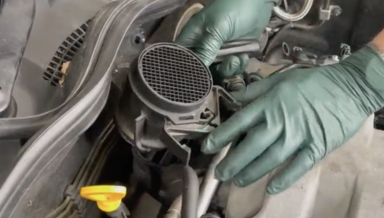
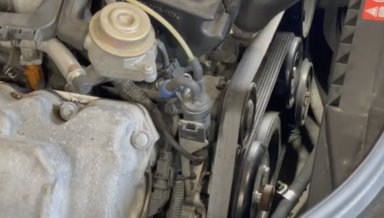
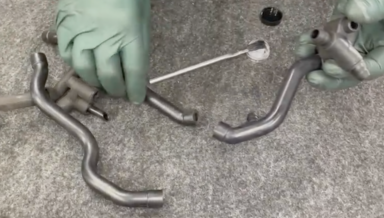
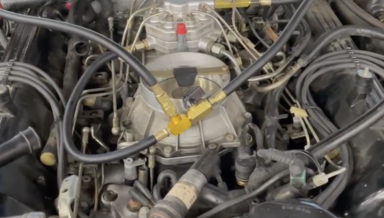
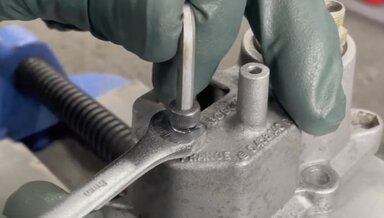
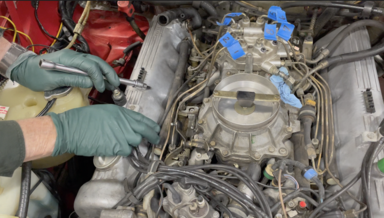
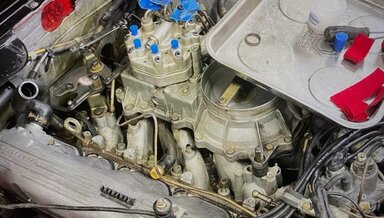
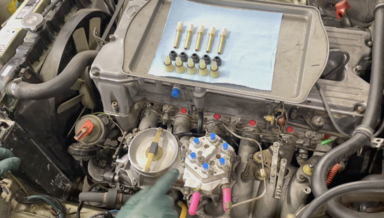
In this long 32-minute instructional video, Kent will demonstrate removing a failed water pump and replacing it will a new one on a W211 E500 with the M113 engine.