PLEASE NOTE: DOES NOT FIT 1978-1980 W116 300SD Motor Mount Arms!
Product Details
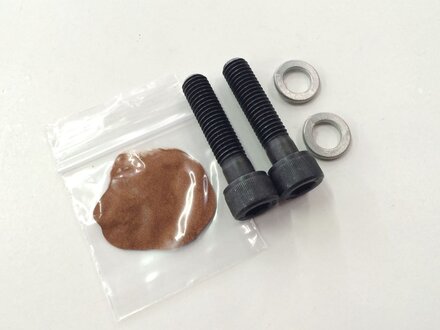
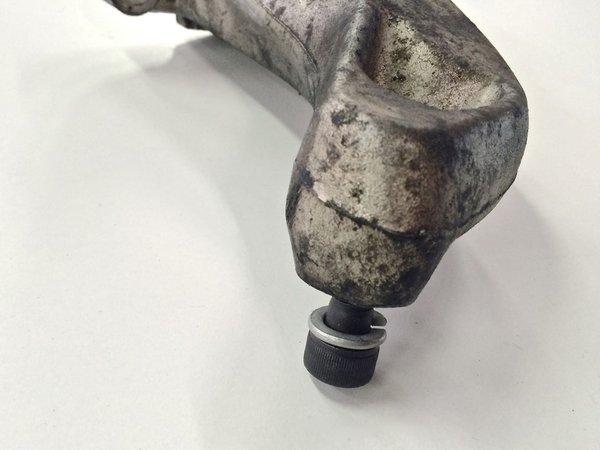
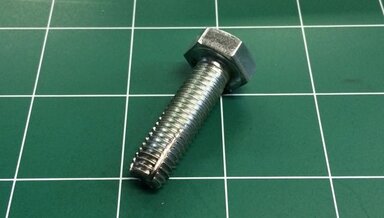
I am seeing more and more problems related to these bolts. The bolts have to come out any time you are removing the engine, changing motor mounts, or replacing oil cooler hoses on the turbo diesel models. Due to the problems many are experiencing, I recently decided to come up with an upgrade kit. The kit includes two new high-tensil strength bolts with ends that I modify to help get the bolt started in the motor mount arm without damaging the threads or cross threading them. Since these steel bolts go into aluminum threads I believe they should always be installed using a copper based anti-seize compound (included in the kit). When using this compound you stand the chance of the bolt loosening up due to heavy engine vibration so I include heavy spring steel lock washers to be used in place of the flat factory washer. Only a VERY THIN coating of anti-seize is needed when installing these bolts.
The problems I am seeing are:
- Rounded hex heads due to the soft factory steel and corrosion in the threads (my replacement bolts are tougher)
- Galling threads in the motor mount arm when removing the bolts (this makes it hard to reinstall the bolt ) - no anti-seize previously used
- Bolts loosening up and causing premature failure of the rubber motor mounts - no locking washer from the factory
- Bolts breaking off in the motor mount arm (usually caused by exposure to road salt ) - Find a good used replacement motor mount arm - we have a few in stock
My kit addresses all but the last problem listed above. Here are some other tips I can share:
1. Always use a high quality and tight fitting hex head wrench when removing the bolts. Don't try to force the bolt out. Spray on penetrant like rust buster and work the bolt back and forth to "ease" it out. If it won't come bang on the head of the bolt with a long punch to "shock it" loose. See related products below for the correct wrench.
2. Before replacing the motor mount and installing the new bolt - trial fit the bolt into the end of the motor mount arm. If it does not go in easily by hand use a thread chaser and clean the the threads. DO NOT FORCE THE BOLT IN with a wrench!! SEE RELATED PRODUCTS BELOW FOR THREAD CHASER.
3. Always use copper based anti-seize (only a thin film on all the threads ) and lock washers. Do not use thread locker on this bolt. It can trap moisture - cause corrosion - and make the bolt very hard to remove in the future.
If you are replacing motor mounts we can help. I have a set of special 6 mm wrench the get the motor mount on and off the frame. Our motor mount kits come with instructions. See related products below:
Related Products:
OM616 and OM617 Diesel Engine Motor Mount Arm Thread Chaser
PLEASE NOTE: WILL NOT WORK ON W116 1978-1980 300SD MOTOR MOUNT ARMS!!!
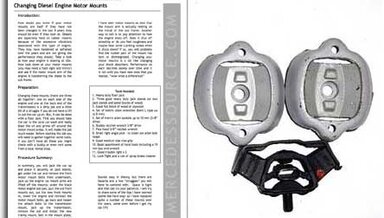
W123 Chassis 5-Cylinder Non-Turbo Diesel Motor Mount Kit
Have you noticed your Mercedes diesel sedan is recently shaking more at idle. Maybe you are noticing new vibrations that were not there before. You may have also noticed the engine makes some clunking noise when you shut it off. When was the last time your rubber motor mounts were changed.
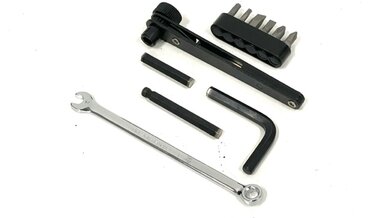
115 116 123 and 126 Diesel Motor Mount Installation Help Kit
This kit will work on all 115, 116, 123 and 126 chassis diesels from 1969 to 1987. Almost every old Mercedes diesel I see needs to have the motor mounts changed. If you have a mechanic do it for you it will cost an arm and a leg.