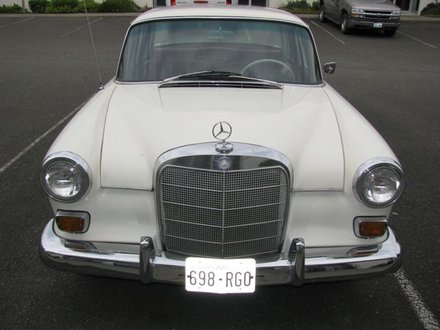
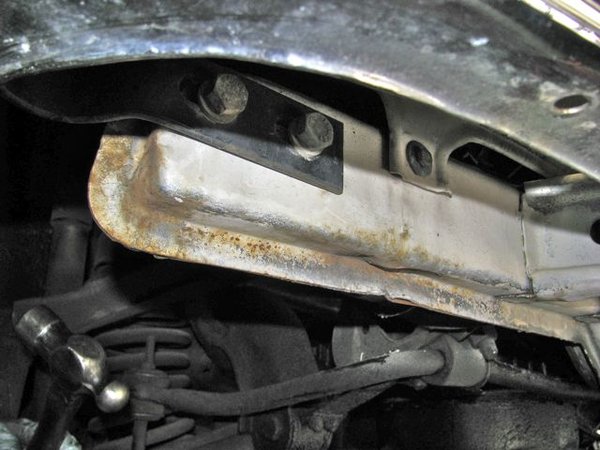
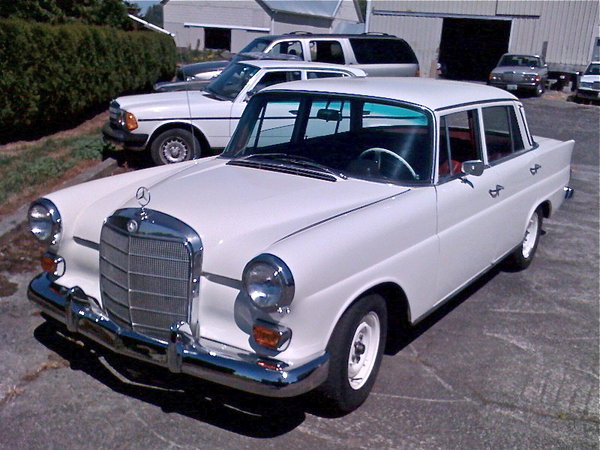
June 20 update: First things first: I first thing I check for when acquiring any Mercedes older than 25 years is RUST! I am not talking about surface rust. I am referring to the type of cancerous rust that produces holes in sheet metal. The 110 chassis is notorious for rust problems. These old finbacks are cute but they are not highly desirable collector cars, so be careful when trying to fix one up that has major rust issues. If it is a rust bucket run away! I quick walk around of this car showed that it was rust free and upon inspection on the lift that was confirmed. Note how solid the front inner fender wells, rocker panels and jack points are. This is the most common area of rust (especially if the car has been subject to road salt). With this check behind, I am ready to put some time and money into this Benz.
First 5 Priorities: In my book the first five maintenance priorities (considering the car is running and driving) are the following: These also happen to be the top five safety issues both for yours and the cars well begin.
• Fuel system inspection and repair
• Cooling system inspection and repair
• Brake system inspection and repair
• Electrical system inspection and repair
• Suspension, final drive and wheels
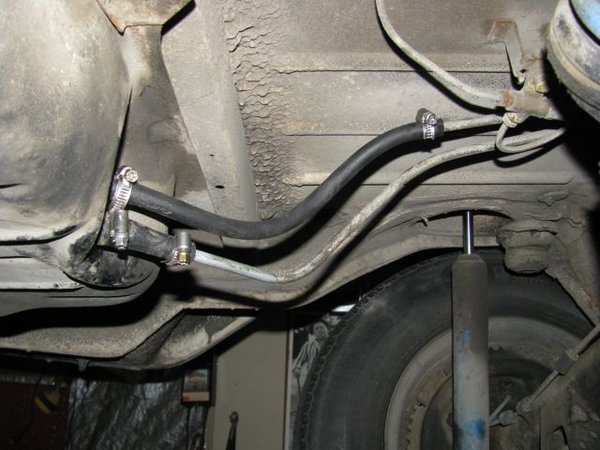
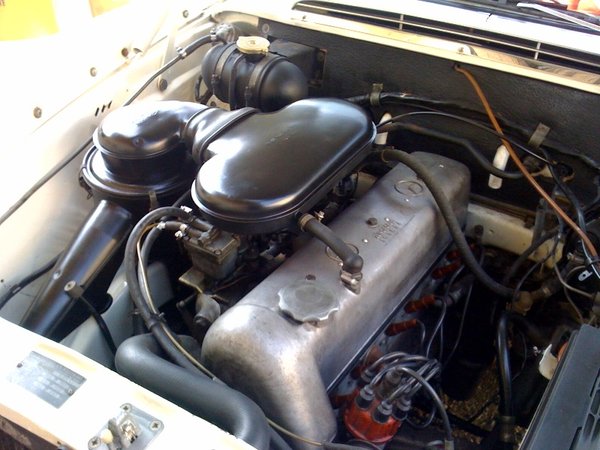
For gas cars I start with the fuel system. Old rotten leaking fuel hoses are the number one cause of engine fires. Old and dirty fuel in the tank and plugged screens and filters lead to numerous performance problems. A close inspection of the fuel hoses showed that this Mercedes was not much different from others I have acquired. Looking over the entire fuel delivery system showed that ALL fuel hoses and clamps would need to be replaced. Just look at the fuel hose setup at the fuel tank. Not only was the wrong fuel outlet hose used, but look at the cracks in it. Could you imagine this fuel hose failing while driving down the freeway!
ALL the fuel hoses and clamps were also replaced in the engine compartment. All the braided hoses were aged and cracking internally so they were replaced with quality all rubber hose and upgraded clamps.
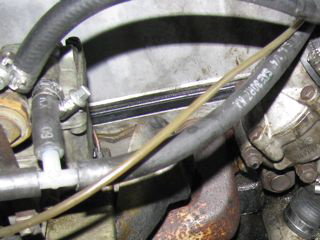
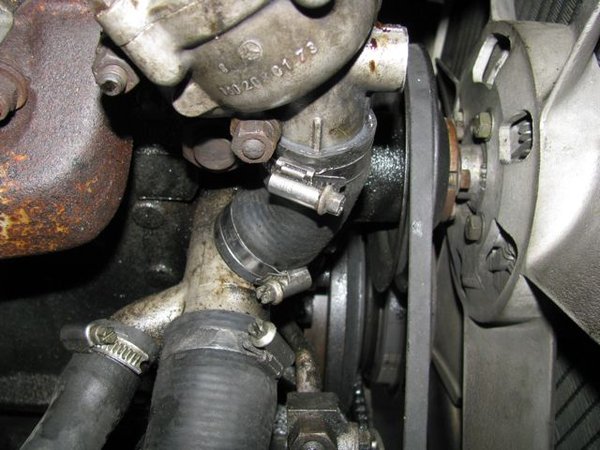
Next it was time to look at the cooling system. Coolant was dirty and old. Water pump bearings tight and belt in good condition. Hoses looked marginal so decision was made to replace all the radiator and heater hoses (including the short section of hose below the thermostat housing). Replaced thermostat for good measure. Hoses were also replaced at the coolant overflow tank near the firewall.
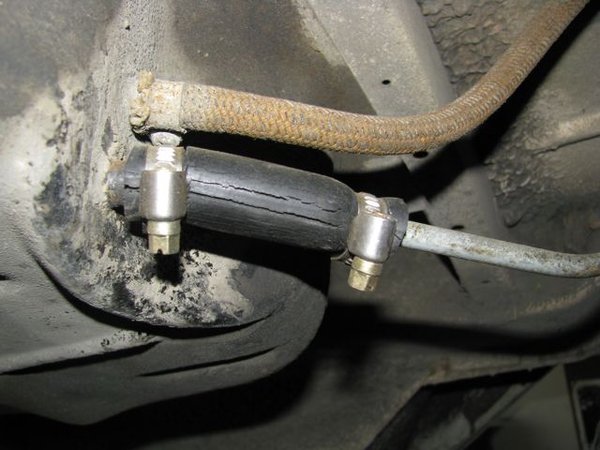
Power steering fluid reservoir was empty. Upon close inspection it was determined the low pressure power steering fluid hose was weeping fluid. This is very common on older Mercedes. New power steering hose installed. Radiator and engine block flused and refilled. Spark plugs and wires checked and showed signs of recent replacement.
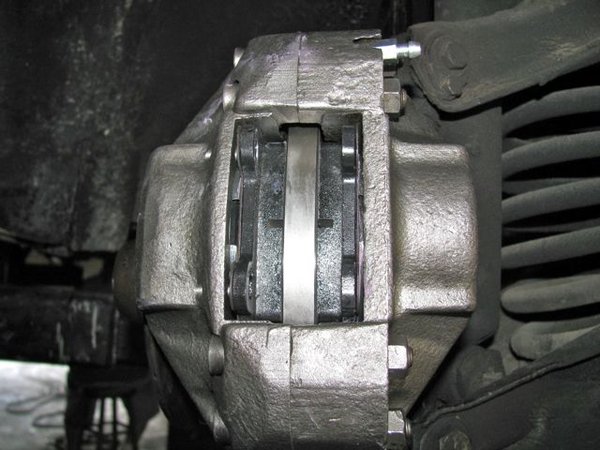
Now it was time to move on to the brakes. I saw something on the right front wheel when I picked up the car that caused me alarm. There was grease spreading out on the wheel all the way to the rubber tire. When I removed the hubcap it became even more obvious. Something had to be heating the grease enough to leak out of the wheel bearing cap. I had my suspicions and upon further inspection I found that both front brake calipers had one frozen piston. This condition is almost always caused by lack of coolant changes especially on cars that are not driven often. On collector cars you should change the brake fluid once a year!
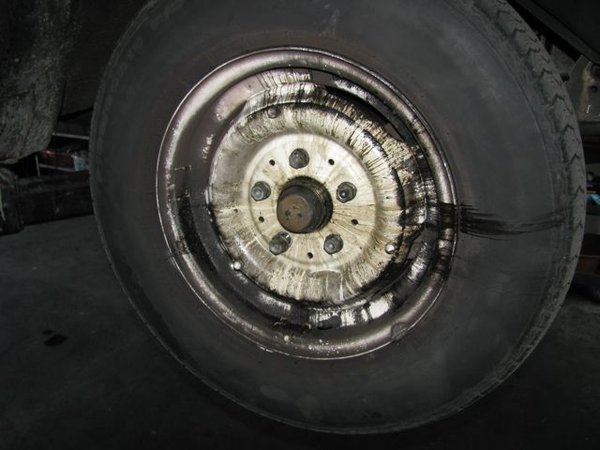
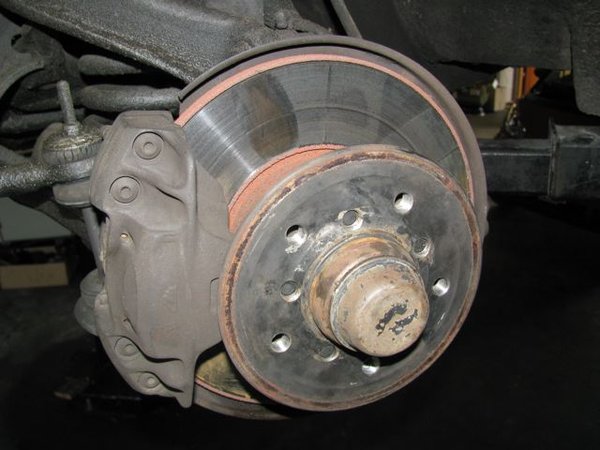
Dragging brakes usually mean you should change the brake rotors. Even if they look ok they have been likely overheated and may be warped. The other thing to always check are the flexible rubber brake hoses. These must be changed when the car is approximately 18 years or older. In this case the owner had recently replaced these hoses. I ordered up new rotors, calipers, brake pads and on the side that had been overheated - new wheel bearings. Always a good idea to change wheel bearings when they have been overheated.
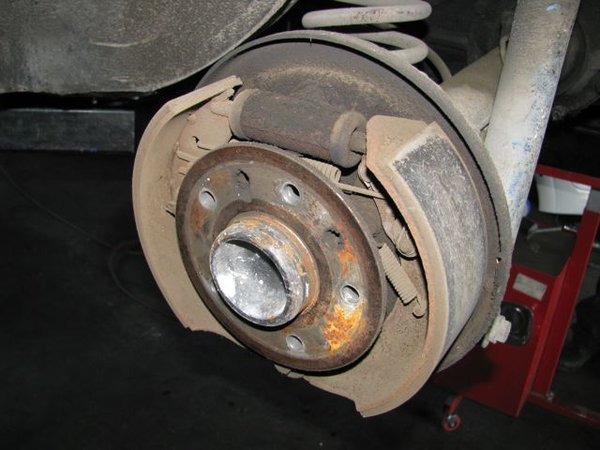
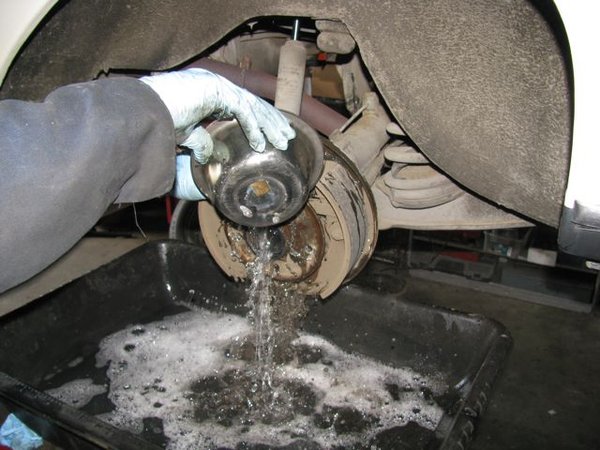
Rear brakes checked out ok. Drums were removed, brakes cleaned in hot soapy water (best way to eliminate hazard of breathing brake dust), shoes and drums lightly sanded and put back together.
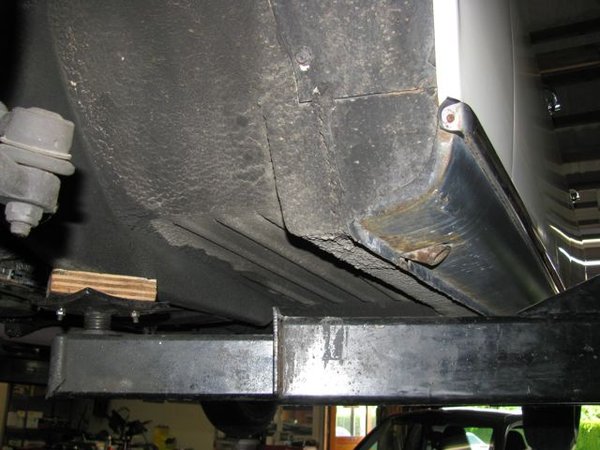
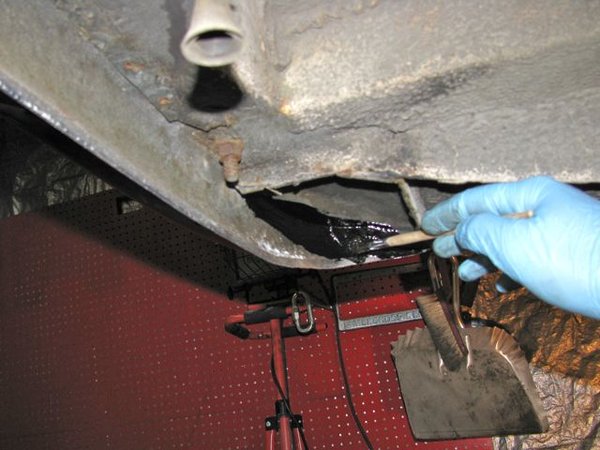
August 10 Update: With the brake and fuel systems rebuilt it was time to go after the body detailing. As mentioned previously the car is virtually rust free (that is cancer free), but there were spots under the car where surface rust had started. If you don't take care of that it will lead to body cancer!!! Once again Miracle Paint came to the rescue. If you are not familiar with this amazing product then CLICK HERE to learn more. Once cleaned and wire brushed, I used miracle paint to coat the areas under the car where surface rust was beginning to show.
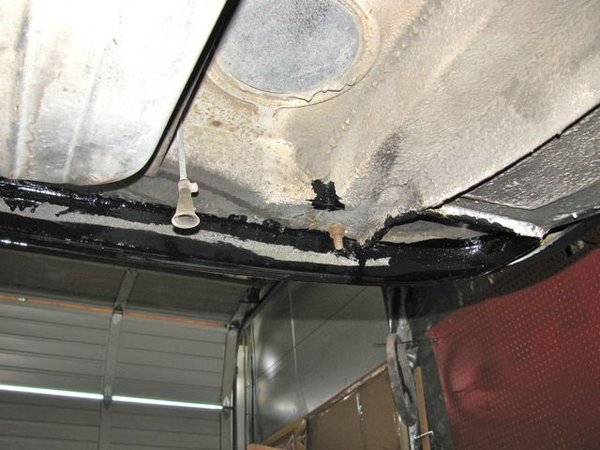
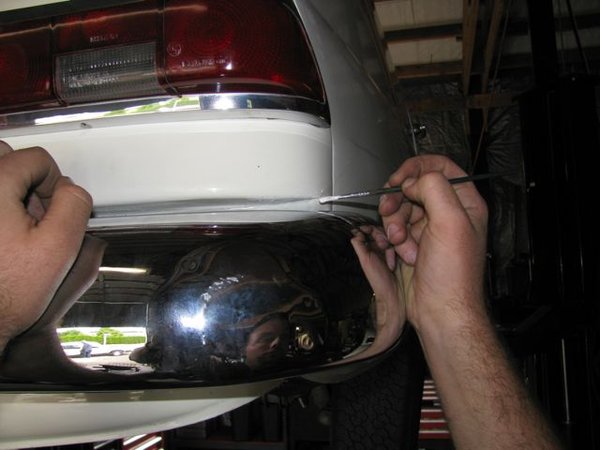
After all the surface rust was dealt with, I went after the exterior paint and areas under the car that could be seen from above. Even though the car has received a new paint job there were small spots that needed touching up. I used a small paint brush and matching white enamel paint to delicately cover over ever minor flaw I could find. This makes a huge difference in first impressions when looking at the car close up! Areas under the car where painted satin black to hide the age marks....
Buffing all the chrome, hubcaps and glass put the icing on the cake. I even installed new H4 headlights. What a difference those make to light up the night sky.
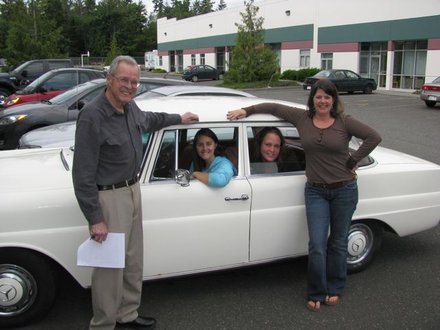
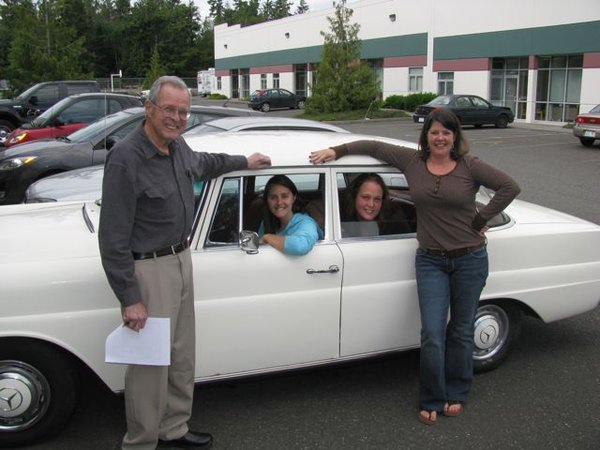
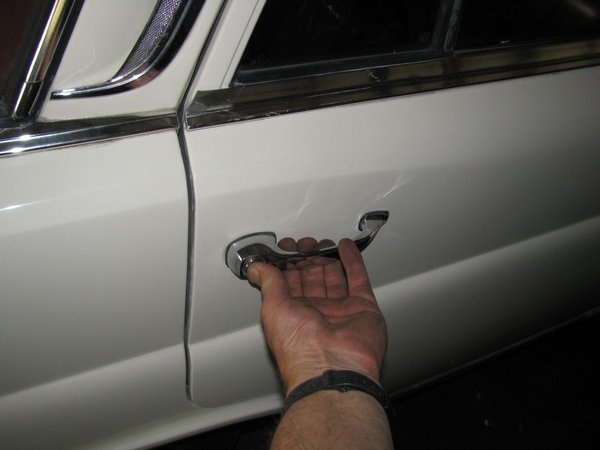
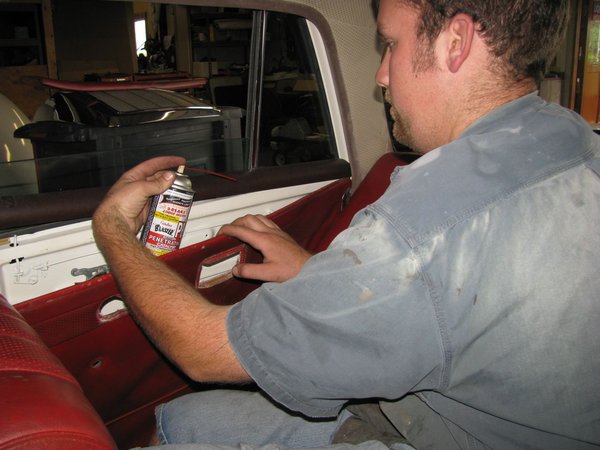
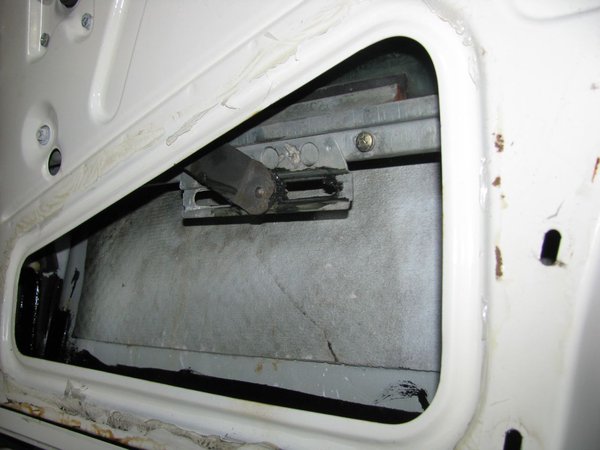
Now it was time to get out and drive the car. I decided a maiden voyage was needed to take my Angels to lunch in Gracie (the name we chose to call her). Before that could happen I had one more thing I needed to fix. The right rear door was stuck shut and would not open no matter how hard I pulled on it. I have seen this a number of times on older models that don't get driven often. It was time to pull back the door panel as best I could and try to lube the latching mechanism.
Since we could not get the door panel all the way off we had to strain to get the lubricant sprayed into the rear where the latch mechanism is located. We let the rust penetrant soak for a while. I could still not get the door to open so I pushed on the door release button from the outside while Ari put his shoulder into the top of the door and gave it a very hard push. The door popped open!
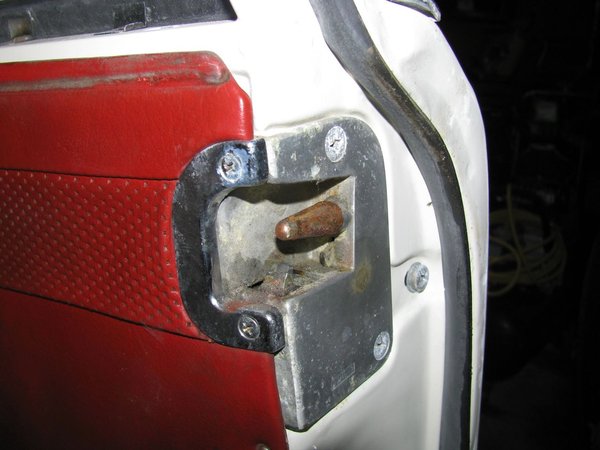
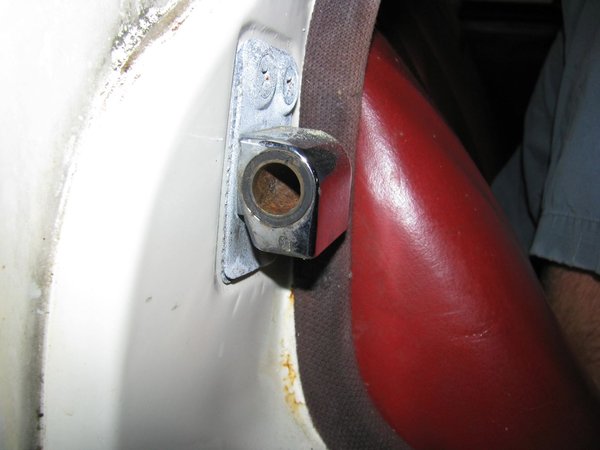
In the two pictures above you can see why the door was stuck. The conical pin was rusted into the female holder. This is a good illustration why you want to lubricate your door latch mechanisms at least one a year.
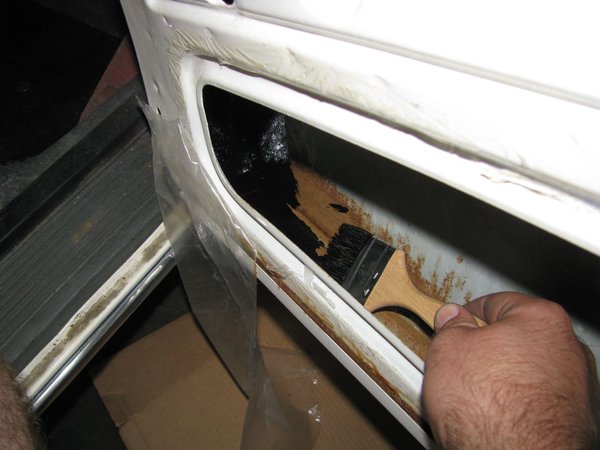
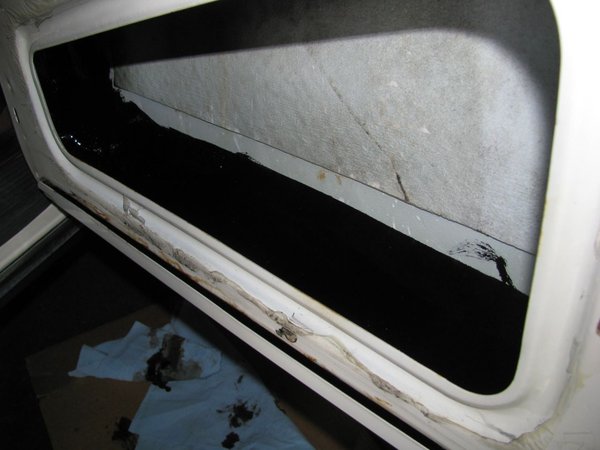
As long we were half way there I decided to completely remove the door panel for a full inspection. Sure enough I found the dreaded surface rust at the bottom of the door. This is SO COMMON I recommend any time you get a Mercedes one of the first things you should do is remove all the door panels and coat the bottoms with Miracle Paint. If you don't do this you will eventually see bubbles and holes coming through the outside bottom edge of your doors!
While inside the door I lubed the window mechanisms with heavy moly grease and the door latch assembly with heavy synthetic oil. Along with coating the rust along the bottom edge I highly recommend you also perform this operation on any newly acquired Benz. With the door working and door panels back on it was time to go cruising!
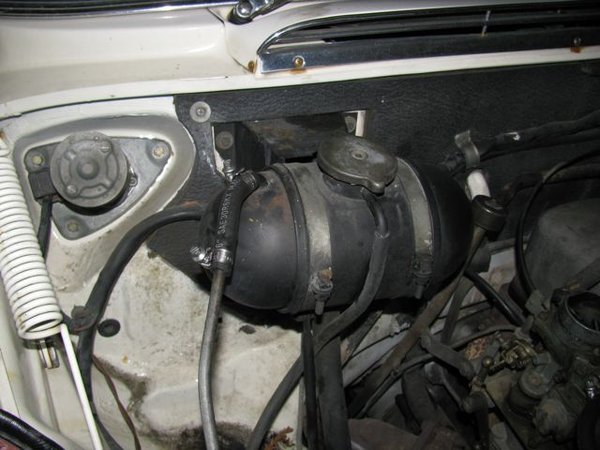
Take a look at this beauty now! I just had to detail out the engine compartment too. Just can't stand an ugly engine compartment. Painting all the air cleaner assemblies a satin black and cleaning inner fender panels and all engine accessories really makes a difference... A few road tests are now needed.
September 9th, 2011 NEWS UPDATE: After repeated road tests Gracies engine health declined rapidly and will now need surgery. The engine smoked a little when I got the car but the more I drove it the worse it got. I tried every trick I knew to cut back the amount of engine smoke but it suddenly got so bad that it is now leaving big clouds of blue smoke when taking off from a stop light. I suspect the valve stem seals were hardened from age and from the car not being regularly driven. My test driving made it worse and now the car is parked until we can perform surgery. I hope that it is only valve stem seals and not piston rings as well. A few more tests are needed to know for sure.... :-(
June 2012 Update: I has been determined that the engine needs replacing or a complete rebuild. We tried to find a good used engine but have been unsuccessful. Due to time restraints Kent sold the car to a Mercedes enthusiast in Texas. Hopefully he will be able to bring it back to its former glory.....