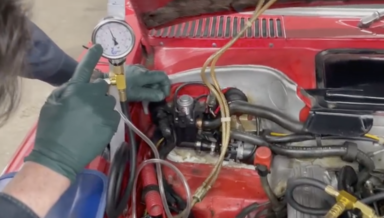
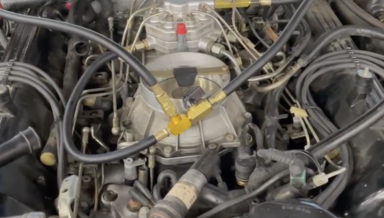
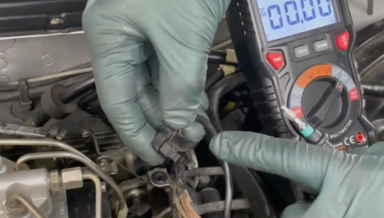
If you own, plan to own, and want to enjoy driving your old CIS fuel-injected Mercedes, Kent highly recommends you learn to do a full fuel system flow and pressure test. This can tell you if you have a weak fuel pump, a failed check valve or valves, a plugged fuel filter, a problem with the fuel distributor, leaking fuel injectors, a malfunctioning warm-up regulator (K-jetronic) or malfunctioning EHA valve (KE-jetronic), etc. With this "short" kit and a fuel pressure test kit that you can buy on Amazon, you can build your own tester in about 30 minutes that is reliable and accurate. Watch the YouTube video below for a full description of what is required.

Product Details
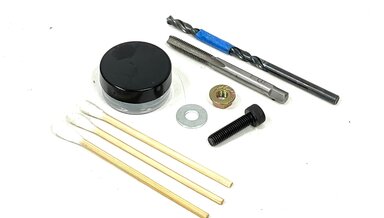
The kit includes the following:
- Quality accurate liquid filled 160 psi gauge with male 1/4 inch NPT threads.
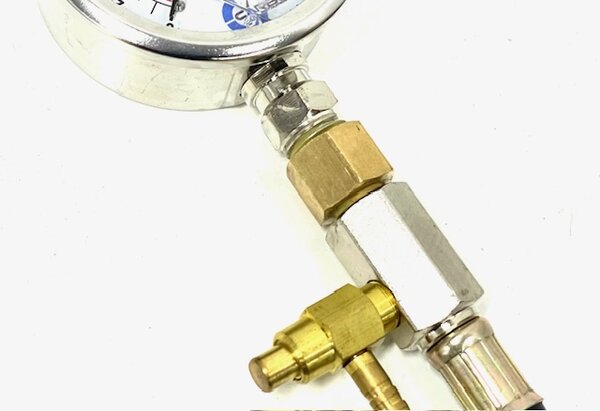
- Brass adapter from 1/4 NPT female threads to 1/8 NPT male threads ( to adapt the gauge to many different testers )
- Three CIS-specific modified machined short fittings that do not leak
- Five small aluminum sealing rings for threaded attachments to prevent pressure fuel leaks
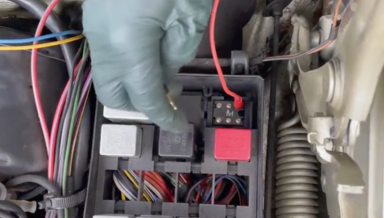
- Fuel pump relay jumper wire to get pumps running while the engine is off.
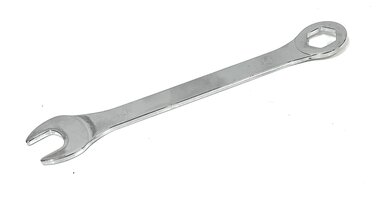
- 14mm super thin combination wrench to ease fitting installation on the fuel distributor
- Barbed fitting and hose clamp to remove the quick disconnect fitting that usually leaks
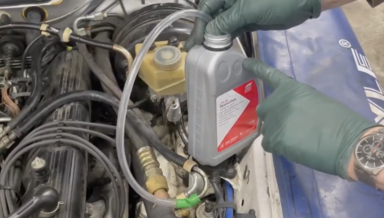
- Small plastic container with lid to catch fuel when pressure is released.
- One 20-minute video instruction on how to inspect,modify, and assemble your testing using this kit and one purchased online.
PLEASE NOTE: NO OTHER INSTRUCTIONS on hooking up the tester to your engine and reading results are included. If you are unfamiliar with how to do this, video instructions are available for purchase separately below. You can choose to buy our COMBO kit which includes all 6 training videos. See the related products below.
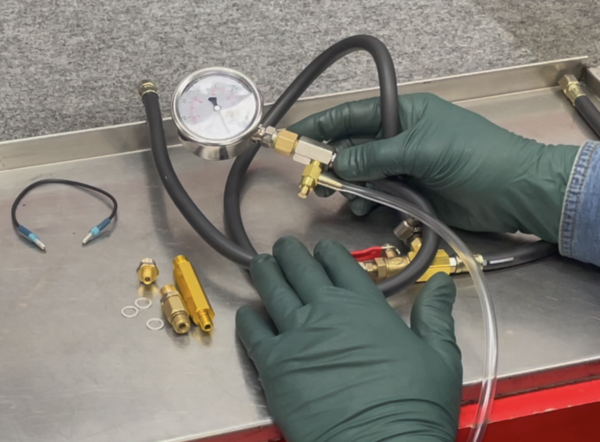
Here, you can see how the adapter fitting can be used to mount the new gauge just above the pressure release valve.
Here, you can see why Kent includes the thin wrench. The head on this fitting has to be cut back to seat properly. The brass fittings you get in the kits leak often do not seat properly and they leak fuel while testing.


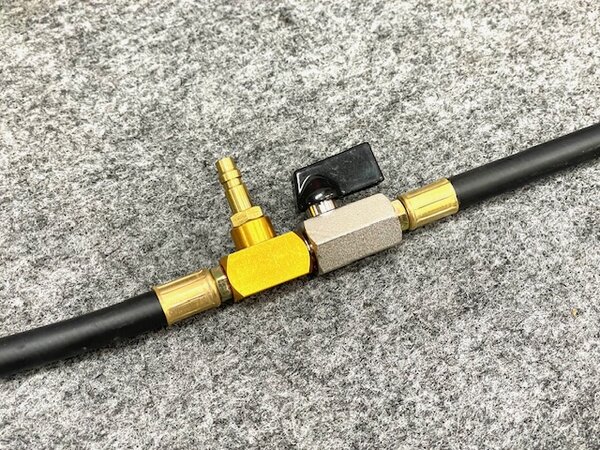
As . of 12/6/24 we now include a brass barbed fitting (1/8 NPT by 1/4 inch nipple) and a small hose clamp so you can permanently remove the quick-disconnect fitting. Kent has found these to be a common source of failure (leaks), and they are not really needed. Install the new barbed fitting at the brass T and cut off the end of the quick disconnect (about 2 to 3 inches). Then, push the hose on the barbed fitting and secure it with the clamp included.

What else will you need to buy to complete your kit?. Amazon is the best source (as of March 2024)for the generic fuel pressure you will need. There are 3 or 4 different brands in a very large red case. Even if the tester does not say Bosch CIS it will work if it has the hose arrangement with the valve as shown below and as explained in the video above. It should cost between $50 and $70. If it does not include this hose arrangement, then you do not have the correct tester.
Here is a closeup of the tester with the lid open. Notice the wide range of hoses and fittings most of which you will not need for testing Bosch CIS fuel injection.
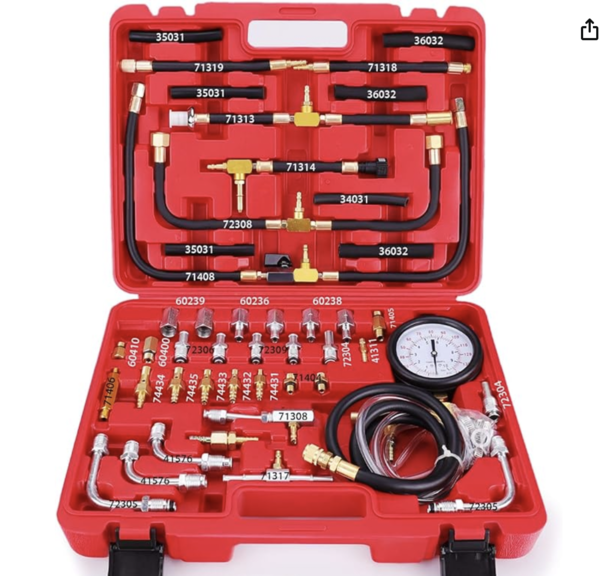
Go to Amazon.com and put "fuel injection tester" in the search box. Look specifically for a tester that looks just like the picture above!
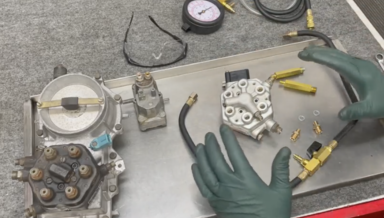
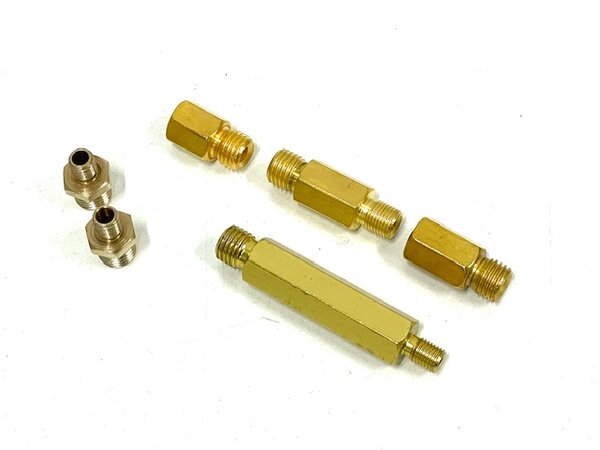
These are the fittings you will remove from the tester you purchase separately. You will not use the two small ones on the left, as they will usually leak. My assembly instructions in the video you will receive will explain how the other fittings are used.
Here is what the tester will look like when it is all assembled.
