This becomes something you should inspect on cars with over 80,000 if they have been driven on rough roads, and over 100,000 on airmatic cars that have mostly freeway mileage. If the front end has been out of alignment or the tires are bad, wear on all the control arm rubber bushings will increase.
Product Details
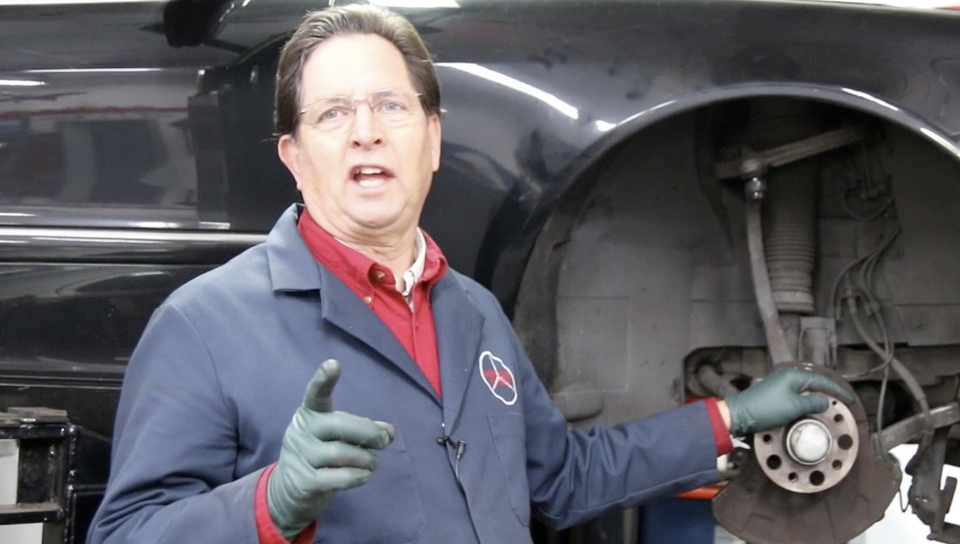
In this video Kent explains the symptoms he was having on his own W220 S500 with airmatic suspension and what he had to do to inspect the front end and replace the failed rubber bushing on the lower control arm. Even if you do not have an airmatic suspension Mercedes, this video will help you understand how to inspect a front end and how to remove ball joints yourself without expensive tools. Watching this video will also help you decide whether or not you want to tackle this job yourself.
This video covers the following:
- Overview of front suspension
- Number of ball joints
- Bushings and control arms
- Different metals used
- Importance of inspection (over 80,000 miles)
- Ways to tell you have worn rubber bushings while driving
- Inspecting points of wear
- tools to use while inspecting bushings
- Damage to rear lower control arm spotted
- Options for repair
- What you will need to D.I.Y. (intermediate job)
- Safety issues discussed
- Options for parts - what is available
- Removing ball joints
- Loosening ball joints without special tools
- Removing upper control arm ball joint
- Inspecting upper control arm
- Protecting brake hose and abs wires
- Removing large ball joint at hub
- Inspecting large ball joint
- Requirements to remove the lower rear control arm
- Close up views of damaged bushing
- Control arm ball joint inspection ( x 2)
- Sequence of steps to install the new rear lower control arm
- Front end alignment will be required after replacing front end parts
NOT COVERED: Brake caliper and rotor should come off for this job. Details of removing the caliper and rotor are not covered in this video. For reinstalling the lower control arm actual step-by-step is not filmed as most is in the reverse order of removing. But, Kent does outline the sequence of steps you should use when reinstalling so it goes back together quickly.
APPLICATION: This video was filmed while inspecting the suspension wear parts and replacing the rear lower control arm on a W220 S500. Although not covered in detail the information will help if you need to replace the upper control arm or the forward lower control arm as this video will show you how to get to them by removing most of the front hub assembly. Since the front suspension is very similar to the W215 CL class and the W211 E500 this video will also apply.
Total run time: 21:48
How to view this on-demand video:
Once you complete the purchase of this video you will be able to view it immediately when you are logged in and on your personal account page (click on My Account). The video(s) will show up under My Video Manuals. The video is NOT downloadable to your computer or mobile device, but you will be able to view it anytime, from anywhere and from any device as long as you have internet access and you are logged in to your account at mercedessource.com.
Important note: This video manual may or may not include all the information you will need to troubleshoot and/or repair your specific problem/s. Please read the full description carefully to determine if this video is applicable to your year and model and contains the information you are looking for. If not, please refer back to our "Solutions Finder" and enter your chassis number and the specific problem you are having to see if we offer a solution.