$44.50
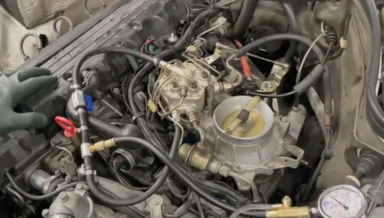
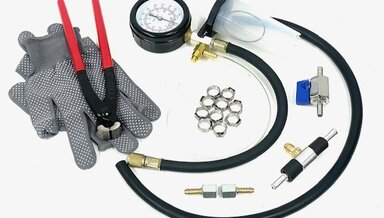
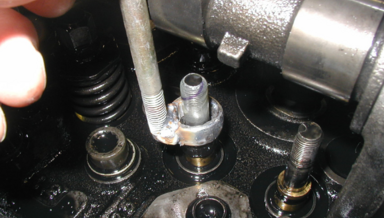
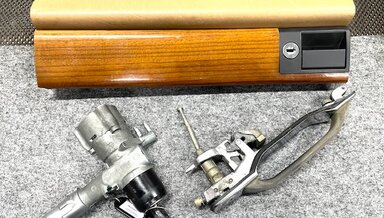
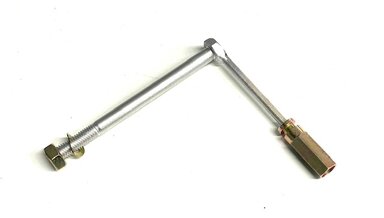
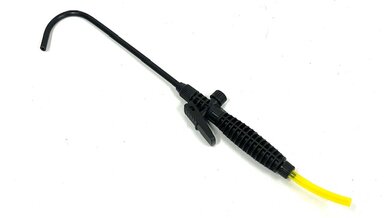
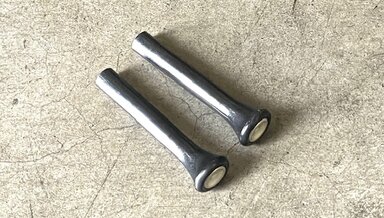
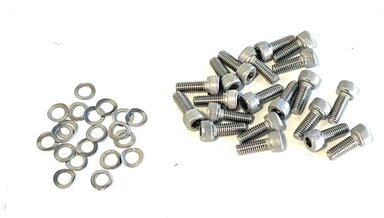
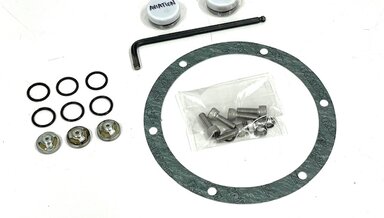
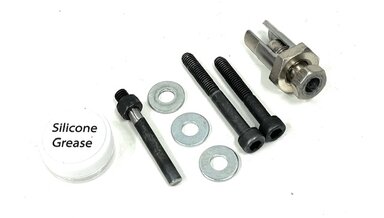
V8 Gas and Early Diesel Engine Timing Chain Guide Rail Pin Removal Tool
New Version 2. For 3.5 4.5 380 420 500 560 V8s - 220D 240D 300D 300CD 300TD 300SD
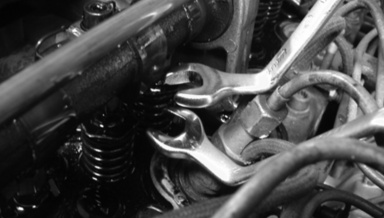
This is a must-have tool if you own a 1970 to 1991 M116 or M117 V8 engine. It will also work on older six-cylinder gas and four and 5-cylinder engines from the 1960s up through 1985. Note: The included video instructions only cover removal and installation of the pin.