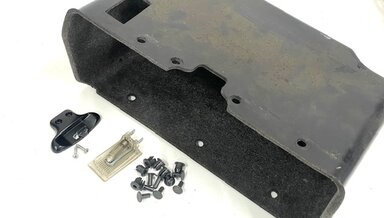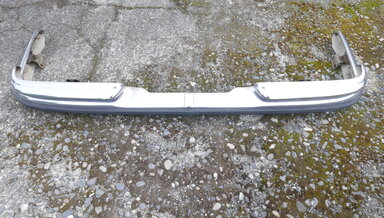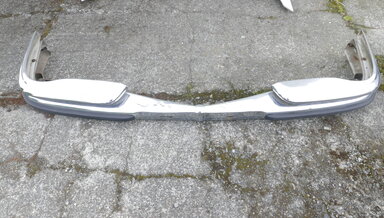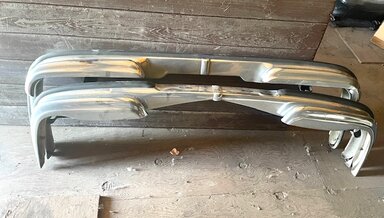
1977 to 1980 W116 Right Front Seat Hardware and Pulls - USED
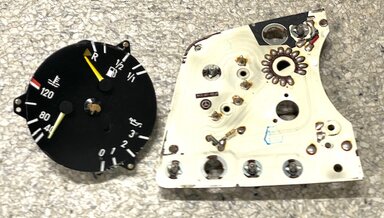
Study the picture carefully. These are the actual parts you will receive. Both pull handles are in good condition, and the latching assembly in the seat belt holder works great.
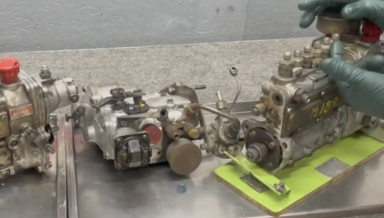
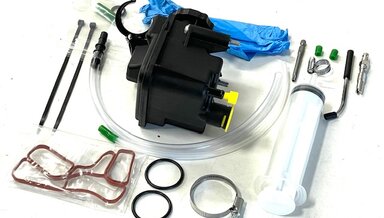
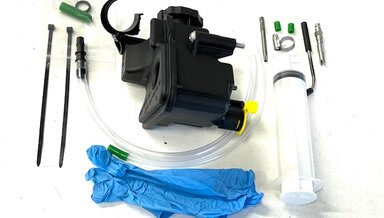
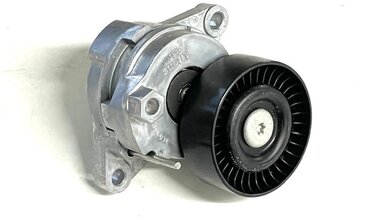
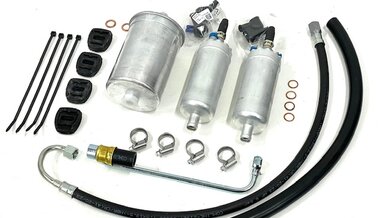
These are the exact units you will receive with the fittings attached as shown. They have been tested, so some fuel has been run through them, but they have not been mounted or used in a vehicle. There are no instructions included.
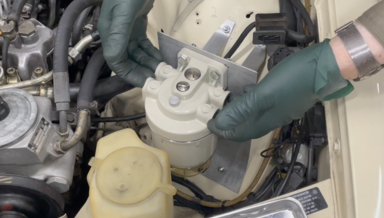
Last one. Motor may be a different color form what is shown, but still the same unit.
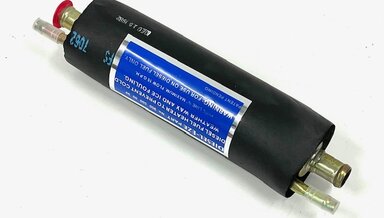
This is the veggie heater that was commonly used during the height of the veggie oil craze (2004 - 2012). This has been used lightly and is still in good working condition. No instructions. Must be operated by a separate electrical circuit with a relay activated.
We supply high-quality Meyle brand rubber mounts here. The procedure for replacing the mounts on these W114 and W115 Mercedes models is the same. Since these models share the same front chassis as the R107, the same tools and methods are used.
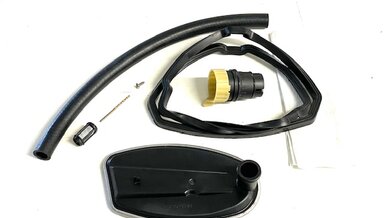
You'll receive two SPECIAL outlet hoses, one slightly larger than the other, each approximately 12 inches long. The smaller-diameter hose was used on the D-JeTronic models up through 1975. The larger hose was used on most models from 1976 up to 1995.
This short 6-minute video is specifically geared toward using the kit we offer on our website to make your own fuel tank outlet hose. As of August 2026, some of these hoses are no longer available, and others are becoming scarce.
If you own or plan to purchase an older W116 with D-Jetronic (electronic) fuel injection, Kent can almost guarantee you will need this kit. Even if the filter has been changed, the pump, hoses, and other parts that can leave you stranded on the open road have not. You CAN do this yourself.
When replacing the engine mounts in your older Mercedes, you might want to consider replacing the bolts that secure the engine mounts to the chassis, especially if they are rusty or damaged.
In this 27-minute step-by-step instructional video, Kent will walk you through the procedures needed to successfully install new engine mounts in a 1975 450SEL.
BUT.... what about different part numbers for different years? What about different right and left sides? What about the difference between California and Federal models? What about the apparent confusion in listings on from different suppliers? Join the Club!
You will also be able to watch five On-Demand videos that Kent has specifically filmed on how to use this amazing product to seal and stop rust, as well as repair small non-structural rust holes using POR15 and fiberglass cloth.
If you feel like your R107 SL front end is moving all over the place while you drive down the road, it usually means all the rubber front suspension parts are shot.
In this short 4-minute video, Kent will demonstrate how to set up the long suction hose before you start the power drain. The hose and the filter piece may vary slightly in diameter, making it difficult to insert the hose into the cut-off filter fitting.
The sound, speed, power, ergonomtics and non-locking trigger control are the reasons what this is Kent's favorite. The selection of discs for the price is amazing. It even comes with speed control and the standard air attach fitting.
In this detailed 40-minute video, Kent will show you how to replace the engine mounts in an R107 V8 SL. The basic procedure is the same in all models from 1972 to 1989. Some details inside the engine compartments may vary between early and late models.
By Stabilus. Best you can buy. Almost every R107 out there needs these. They never get inspected. They never get changed. The best time to replace these is when you replace the engine mounts because you have to remove these to get your engine mounts out.. They don't get changed either.
In this 15-minute instructional video, Ken will walk you through, step by step, how to remove your old transmission mount and install a new one. He will cover a few potential problems to watch out for and explain the correct installation torque sequence.
Some might suggest this is a fairly easy job, and Kent would agree up to a point. If this were such an easy job, why did it take a 30-minute video to explain all the ins and outs and the challenges that you might run into?
This kit includes new aftermarket engine mounts, a transmission mount, and Kent's special tool kit to make the job go much faster with less frustration. BONUS: free high-strength mounting bolts included. Removal and replacement are straightforward, but... access can be a bear.
In this 14-minute video, Kent will take you along both the right and left sides of the 722.3 transmission and explain where each of the 13 seals and O-rings in his kit are located – see related products below. Please keep in mind that this is not a complete step-by-step insulation guide for every
Good condition. No damage, dents, or cracks. This is the actual part you will receive.
If you are interested in this transmission, please do not try to check out. Contact us via email to arrange payment and pickup. Please note: I will only sell this transmission to a knowledgeable W123 Mercedes turbo diesel enthusiast who plans to install it himself.
The color is rare, but the condition is even rarer. Almost impossible to find original covers in this condition. Don't like the green. You can spray them with spray-can dye from World Upholster to match your interior exactly. One can of black is included.
We also offer these rings in a complete valve body cleaning and repair kit. See related products below. The accumulators are not difficult to remove from the valve body. NOTE: This kit will contain more rings than you need.
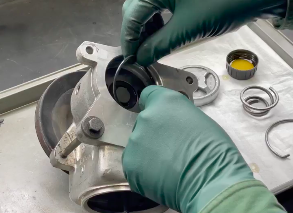
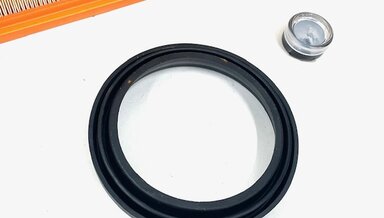
This seal is a common leak point on the front of 722.4 transmissions, primarily due to age, which causes the seal to harden. This is an easy install once you remove the transmission from the car.
If you want to troubleshoot and repair your early climate control system, this manual contains the best information I have ever seen. It's just under 30 pages in length, and it has numerous diagrams, schematics, and troubleshooting tips to help you find the problem.
New rubber mounts can make a big difference. These high-quality, heavy-duty Meyle mounts can REALLY make a difference. Kent believes their performance is equal to that of the genuine mounts at a much lower cost.
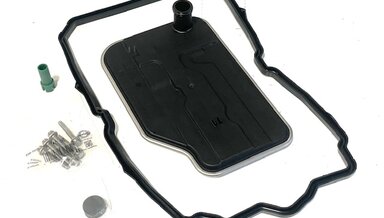
If you have an early 722.3 transmission you are working on, his is the reseal kit you need if you have it out of the car and want to fix and/or prevent external seal leaks. Replacing these seals and O-rings is not difficult except for the B1 piston over and the shift shaft lip seal.
\The repair kit shown is new old stock. The new diaphragm is soft and flexible from the box. I am including my old extra fuel pump parts, as I don't think I will be restoring another 190 SL or 220 S.
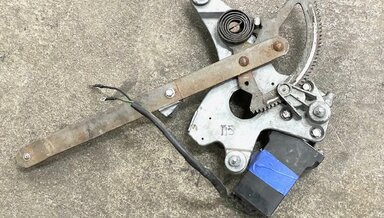
New and mint. These are the actual coverage you will receive. These all fit the European model W201 and W124 chassis with manual crank windows.
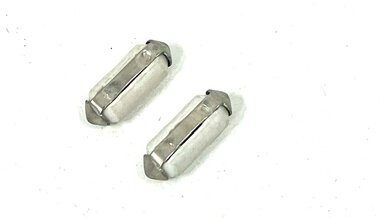
Genuine New Old Stock in mint condition as shown.
Kent will demonstrate how to use his V-belt pulley rust repair kit in this video. Doing it by hand can take forever!
Kent tried a bunch of methods, but using an electric drill with these round brushes and extension proved to be the fastest and most efficient way to get the rust off those old pulleys that have sat for a long time. Hand wire brushing does not work, and hand sanding takes a long time.
In this detailed xx-minute instructional video, Kent will show you how to stop rust! He will take a hidden panel on a W123 and show you how to clean it, prep it, and coat it with POR15 for a lasting rust repair.
In this 10-minute instructional video, Kent will demonstrate how to use different tools when preparing a heavily rusted area for top coating with POR15. Digging out old body undercoating can be very challenging.
In this 10-minute instructional video, Kent will demonstrate how to use fiberglass cloth and POR15 to patch a small hole in the rear muffler. This will not work on catalytic converters as they get too hot, but can be used on center and rear mufflers to add a little more life.
If you find spots of rust on your old Benz, you should address them right away.If you want a long-lasting rust repair, preparation is key. The application is straightforward, but there are some potential problems you should avoid.
Good usable condition. The distributor shaft condition is tight. Vacuum advance works and has been tested. The distributor cap has very little wear on the points. Ignition wires are still soft. Coil wire is missing. Rotor is missing.
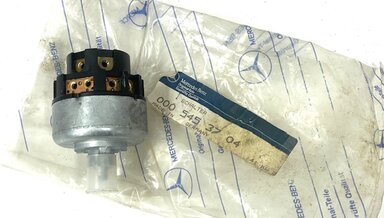
Good working switch as shown. Nice cosmetic condition.
Lower skirt oiler as shown and good used condition with bolt
Do you want to learn how to diagnose your check engine light on your older 1986 to 1993 Mercedes with the original OBD1 diagnostic panel? It is that little funny black box in your engine compartment with a cover on it.
NOTE: Please do not try to check out online to purchase this vehicle. If you are interested, email sales@mercedessource.com for instructions on payment and pick up. The car can be driven short distances, but I recommend that if you're out of Washington State, you have the car transported.
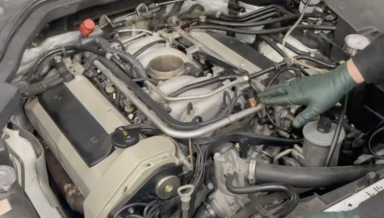
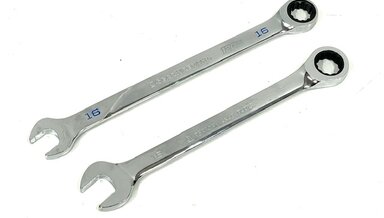
All 6-cylinder gas engines during this period have adjustable valve clearances that should be checked every 15,000 miles. Only one wrench is needed to adjust these valves. There are no locking nuts like on the diesel engines.
These parts are in excellent condition as shown. They were removed from a 1968 280 S with only 68,000 miles and in storage since 1978.
Fits all 123 modesl 1977 to 1985
We recommend you change the valve cover every time you remove it. Not worth the chance for oil leaks. And install it dry to prevent weeping oil.