New Update Addendum to Instructions: Aux Water Pump Install
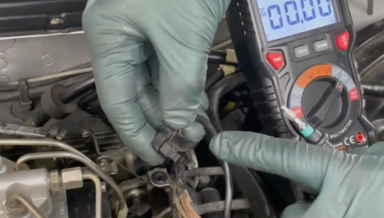
There is no need to purchase this short 4-minute video. It is a wiring update to the electric water pump kit we sell, and this video will be included. See related products below.
If you find your old diesel slow to start after it has been parked overnight or for extended periods, the problem could be a loss of fuel in the injection pump. Let's face it.
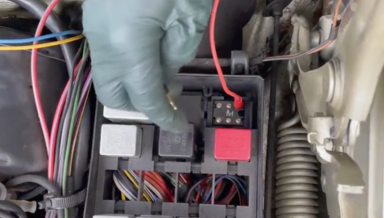
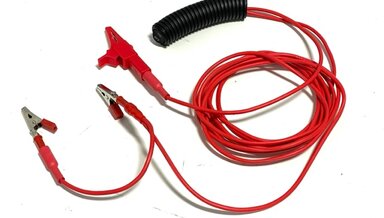
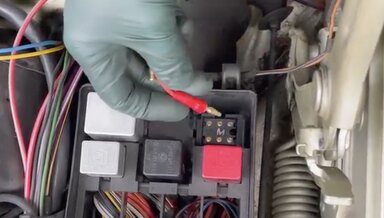
Do you need a way to power up some 12-volt accessories in your old Benz and don't want to use the factory fuse box?
You will build this yourself from the components and instructions included.
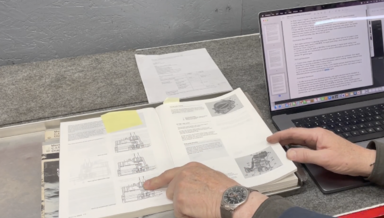
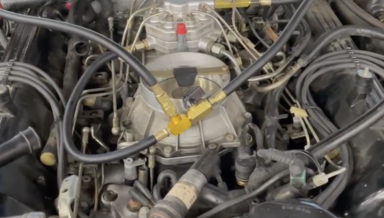
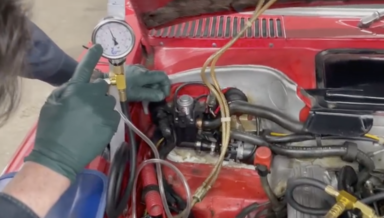
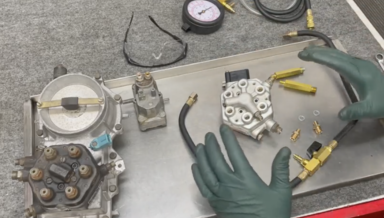
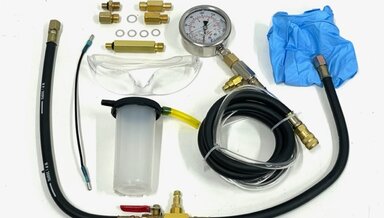
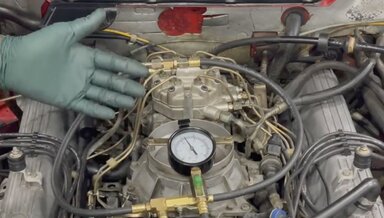
Why do a fuel system flow and pressure test? Without one, you will not know if your fuel injection is working properly. This is even more pronounced on K-Jetronic engines that incorporate a warm-up regulator. And guess where that is located on the M110 engine?
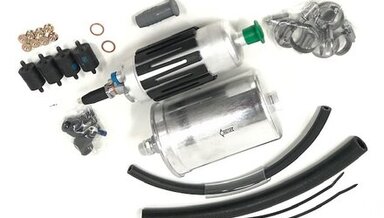
New water pump as shown for your 380SL or 380SE/C. These are getting more expensive by the month!
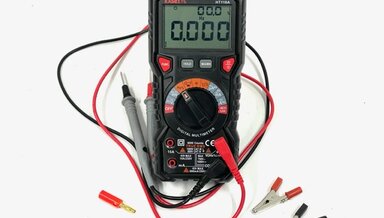
In this 16-minute video, Kent explains the two upgrades he made in early 2026 to his electronic fuel injector tester. This video is specific to the tester we sell on this website. See related products below.
These are the instructions (3-minute video) for wrapping the door check straps mentioned above with the cover and tape we include with the door checks we sell. See related products below.
4 pieces of heavy black vinyl plastic cut to fit with 4 pieces of the best sticking tape in the world. You can put these on yourself if you install new door checks or remove your old ones for lubrication.
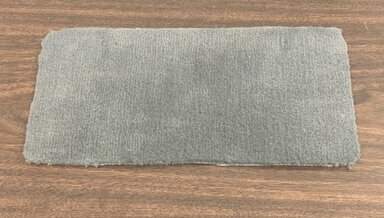
This is what helps to hold the cluster tight to the dash. Good soft seal as shown. No cracks or tears.
We only have a few of these available from Kent's old stock. When gone, there will be no more. Tension housing and pin have been cleaned and inspected. Excellent condition. New spring and gasket are included. Use of a thread locker on the cap is recommended.
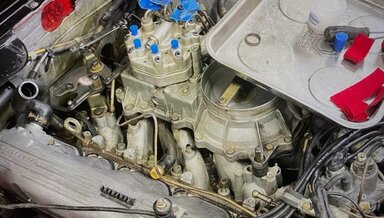
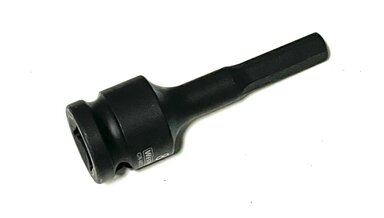
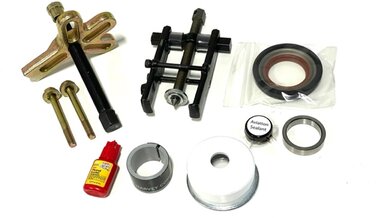
If you try to open up those clutch drums without this tool you WILL be frustrated! You may get them open, but trying to put them back together is something else! If you need instructions or other parts see related products below.
This was removed from a 1982 300SD that was running and driving before being parted out. I do not know what work, if any, was done on this valve body, but it does look fairly clean on the outside. We do recommend you open it up and clean it, as well as install new accumulator seals.
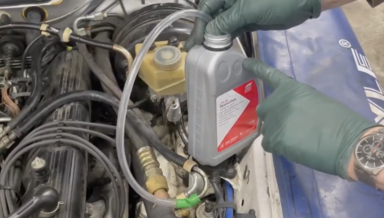
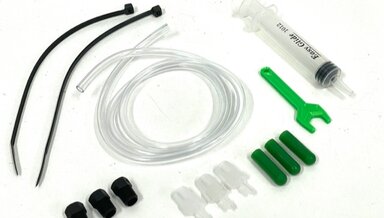
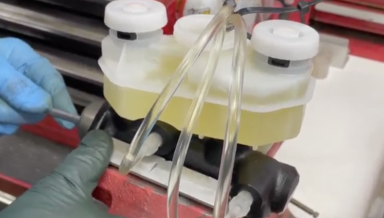
Tired of the "old ways" of changing fluids in your car? Watch the video below to see how to do it fast, with less mess and stress-free.
In this 27-minute instructional video, Kent will show you how to use our repair kit to prevent chaffing at the clamp locations, and how to actually fix a leak if a hole has worn through the the transmission cooler hard line. Check out the repair kit in the related products below.
Introductory special. Full video instructions for both repairing pipe leaks and reducing chaffing are included (on a 1983 300D). This is now becoming a bigger problem as these diesels age. Inspect your cooler lines soon!
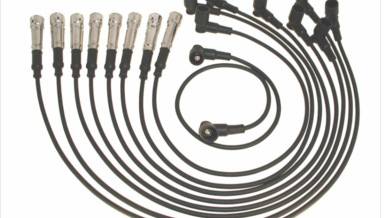
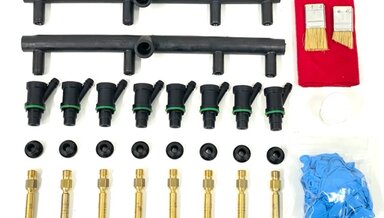
You attach these to your 300D, 300CD, 300TD, 5-cylinder engine and turn the engine over with the starter motor for cleaning and testing.
These original masts are NLA, and this is from Kent's 20 year old stock and was only used a few months. No damage. super smooth operation and super straight. The TOOTHED tail was used on some antennas from 1983-84 up until the early to mid 1990s.
These original masts are NLA and this is from old stock Kent has had in storage for 25 years.. The smooth tail was used on antennas from the mid 1970's up until around 1983-1985.
This is a must-do anytime you have the transmission out of one of these cars, and you know it has not been done in the past 10 years. Of course, if you are leaking engine oil out of the bellhousing after a long drive, then you should also replace it.
The kit contains the following"
This is a short 5-minute video instruction where Kent demonstrates how to precisely install a hood star wreath from the kit we offer. Note: Multiple colors are now offered for you to customize your own Benz.
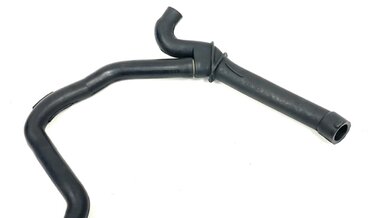
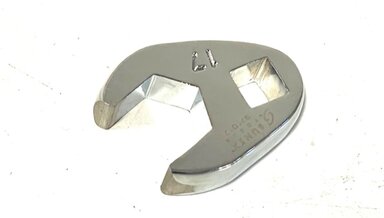
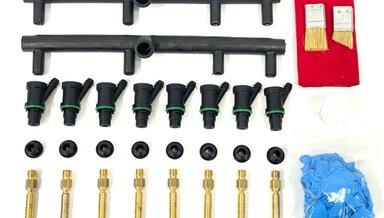
We give you options. Look at the images below and you can decide what color you like best to put on your hood star. You can choose, red, gold, silver or a combination of the two. Please watch the video instructions BEFORE installing.
This is the exact part you will receive. All hoses are still soft and usable.
Kent's highly detailed xx-minute video on how to remove the K3 and pump assembly from the front of a 722.3, take it all apart to gain access to the big pump O-ring, replace it and the torque converter seal, and put it all back together again.
Kent will share his knowledge from years of doing pressure tests on these old transmissions. Don't be afraid to do this. It is definitely a entry level DIY procedure.
Too much pressure and you will blow the seals. Too little pressure and you will wear out the clutch packs. When installing a new vacuum modulator on your transmission, you most likely will need to adjust it. There are two ways to do this.
More often than not you will find these cracked and broken.
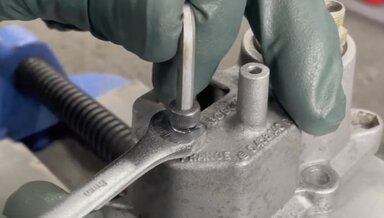
In this short video Kent will explain how to use his stud repair kit (see relaed below) to fix damaged oil filter threads in the top studs that hold the cap on.
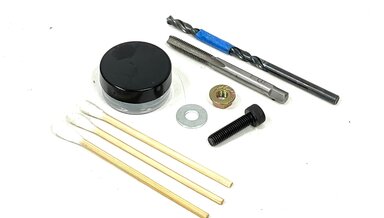
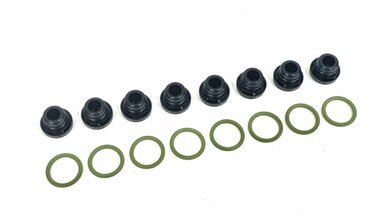
If you discover a stud loose when doing an oil change on your 1977 240D 300D 300TD 300SD here is the kit you will need to fix it properly. Even comes with new semi-locking cap nuts. Watch Kent's YouTube video below to learn more.
The kit comes with the following:
This is one of the most common leaks we have seen on these transmissions over the past 25 years. If you are discovering big puddels of red transmission fluid on the ground at the front of the transmission I can almost guarantee it is the front pump leaking.
This is Kent's master kit for solving a number of transmission-related shifting problems. Please note it will not solve them all, particularly if your transmission is worn out.
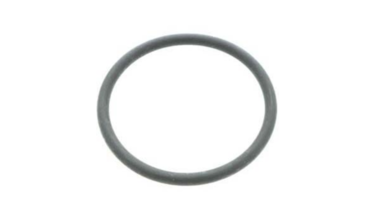
You should change this crush washer every time you change your engine oil. Good to have some spares on hand.
Good condition as shown.
When you are resealing or rebuilding, or even just working on the B1 piston, you need to check the release pressure. This is done by measuring the distance the piston has to travel before the brake band clamps onto the K2 drum. This should NOT be neglected.
PLEASE NOTE: As stated earlier, Kent does not cover the overhaul of the valve body in this video series. That could be another long series all by itself. He will show you how to make the K1 accumulator upgrade.
In this detailed step-by-step 26-minute video instruction, Kent will show you how to correctly install the B1 and B2 piston assemblies, check them for proper operation, and measure the required "free-play." He will also cover other items you will need to install on
Now, for the part you have been waiting for —and perhaps the most critical. If you forget to install even a single small needle bearing or a couple of thin washers, you could encounter some serious problems.
There are several important seals and O-rings that need to be replaced before proceeding with reassembly. In this 26-minute video, Kent will go down both the right and left sides of the case and demonstrate each one. 72234CLASS
In this 19-minute session, Kent will remove a rear oil pump from an early 722.3, disassemble it, and demonstrate some of the challenges associated with resealing it. 72234CLASS
In part three of his 722.3 video class, Kent will give you his recommendations of some tools and supplies you may need when you go to tackle this job yourself. He will also give you recommendations on additional manuals you should download from the internet. The video is 21 minutes in length.
This is a comprehensive video (30 minutes long) that provides an in-depth explanation of testing and adjusting the modulation pressure in the 722.3 and 722.4 transmissions.
PLEASE NOTE: This should be used in conjunction with our modulator pressure test kit (see below). It can be unhealthy for your transmission to just "guess by feel" where the T-pin should be turned.
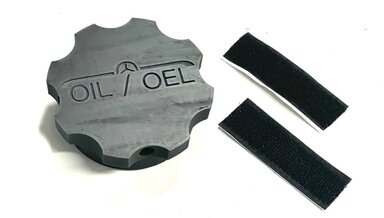
Out of years of frustration trying to adjust the modulator during a test drive, Kent came up with a better and faster way to make adjustments by just "reaching" under the car. This little device replaces the plastic cap during testing and adjustment.
Kent will show you the procedure (along with troubleshooting and testing tips) with a 722.3 Transmission on the bench.
In this 13-minute session, Kent will open up the planetary gear assembly with the one-way clutch and show you how to put in the new seals. This one is a little bit tricky. You have to be careful not to knock the clutch assembly apart. It also takes some effort to get it all back together.
Kent will walk you through the steps to remove the drive shaft SAVELY. Replace the center bearing and carrier on the bench / vise. And finally, replacing the drive shaft correctly back into the car. This applies to the R107, W116, W126 and W124 chassis. The example here if from a W124 300E
In this detailed step-by-step 20-minute video instruction, Kent will take this unit apart on the bench and demonstrate how to install all new O-rings and seals. 72234CLASS
In this xx-minute video, Kent will explain how to set up and use the different components in his kit (see below) to test modulation pressure in a 1981 to 1995 automatic transmission. This should be done when replacing the modulator or after rebuilding a transmission.
PLEASE READ CAREFULLY BEFORE ORDERING!