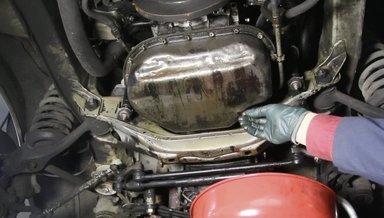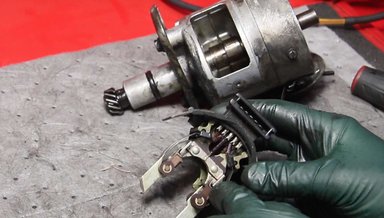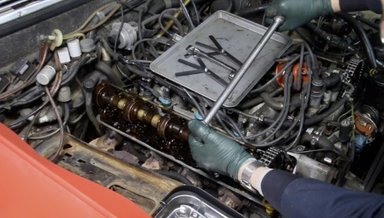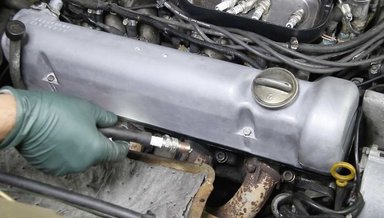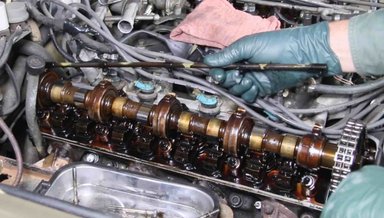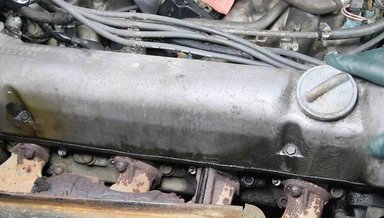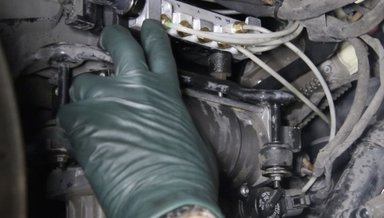
W110 W111 W113 W108 Shock Absorber Replacement - On Demand Video
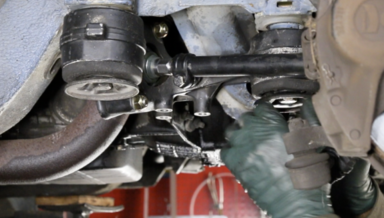
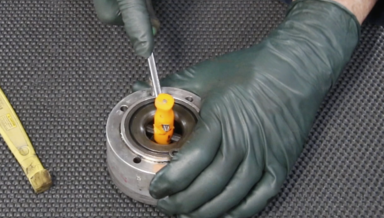
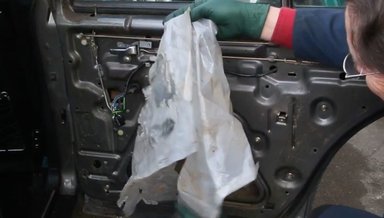
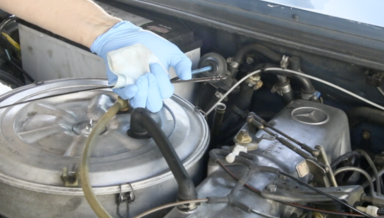
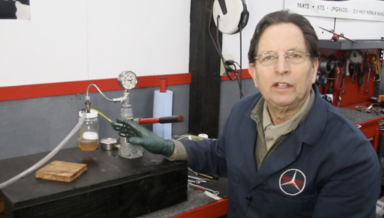
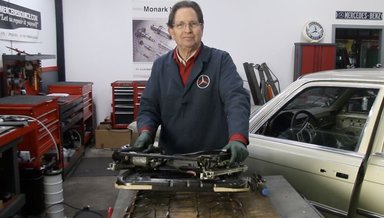
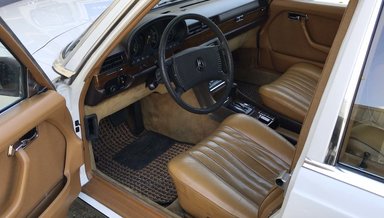
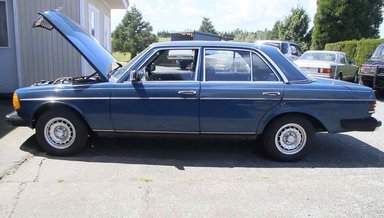
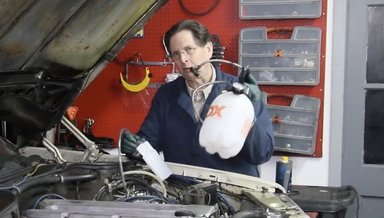
In this 24-minute detailed step-by-step video instruction, Kent will walk you through the process of how to successfully remove the old shocks and install new ones.
In this 36-minute instructional video, Kent will walk you through the process of doing a complete fuel hose replacement and fuel injector service on a 1970 to 1975 Mercedes V8 engine with Bosch EFI electronic fuel injection.
In this 9 minute instructional video, Kent will explain how to test your fuel accumulator to determine whether or not it has failed internally. A failed accumulator will make your engine hard to start when hot.
In this 14 minute instructional video, Kent will share with you the tools you will need along with some tips and tricks that will help you successfully remove a prechamber from the cylinder head. This can be done with the head on or off the engine.
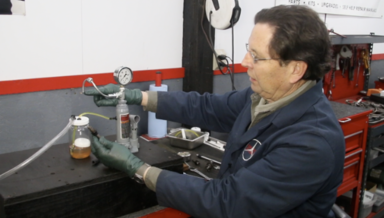
In this 24 minute instructional video Kent will explain the process of how to bench clean and test your D-jetronic fuel injectors in your own garage or workshop once they are removed from the engine.
In this 26 minute instructional video Kent will show you how to hook up a CIS fuel pressure tester to your older K-jectronic gas engine.
In this 10 minute instructional video Kent will explain why you want to "jump" your K-jet fuel pump relay, how to do it, how to find the location in you car, and why he prefers to have a long "switchable" jumper.
This xx minute video will take you step by step through the process of modifying your warm up regulator so you will be able to easily make adjustments to your cold start control pressure.
This 25 minute video will instruct you on how to replace the fuel injectors in your 1976 to 1980 8-cylinder M117 engine safely and efficiently. This is a fairly straightforward job, but there are some pitfalls you will want to avoid.
This 33 minute video will instruct you on how to replace the fuel injectors in your 8-cylinder M116 engine safely and efficiently. This is a fairly straightforward job, but there are some pitfalls you will want to avoid.
This 16-minute video will instruct you on how to replace the fuel injectors in your 6 cylinder M110 safely and efficiently. Since this is a fairly straight forward remove and replace this is not a step-by-step video.
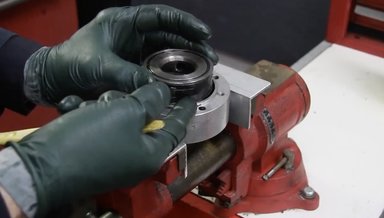
Also covers 1980 W116 sedans. The sunroof transmission drive unit moves the cable back and forth to open and close the sunroof. Five gears inside this unit transfer the incoming drive from the motor ( high speed) to the final drive, moving the cable (slow speed).
This also covers the 1980 W116 sedan. In part one, Kent will show you how to get all the sunroof parts off our old Mercedes and on a bench, particularly if your sunroof is broken and not moving. In this 21-minute instructional video, here is a list of the subjects he covers:
Is your old gas engine running a little rough? There could be lots of reasons for this but if you have good compression, good plugs and wires you might consider replacing your O2 sensor even if your warning light is not showing up. This is an easy DIY job.
In this 13 minute instructional video Kent will demonstrate how to remove an old fan clutch and replace it with a new one on a 1983 380SL This is a beginner D.I.Y. job and no special tools are required. This video is included free of charge with the purchase of our Later V8 fan clutch kit.
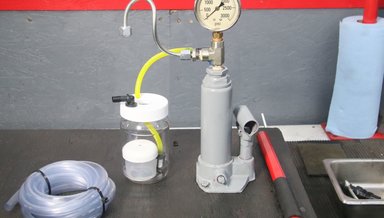
This video only applies to our injector pressure tester. Kent will show you how to attach the capture bottle and fittings to your older Version 1 or Version 2 pressure tester. Video is free with purchase of the conversion kit.
In this detailed 30-minute video Kent will walk you through the process of installing new tie rod ends on his 1959 Mercedes 220SE. The principles are the same on almost all models from the 1950s up to the 1990s. He will explain the differences in adjustment between the older and newer styles
Kent delivers a very detailed 24 minute video on understanding how this valve works and how to fix it if possible. You will learn how to recognize a valve that is just too worn out to repair. No bleeder valve repair parts are available and there is not way to DIY fix one if it is badly damaged.
In this 30-minute instructional video, Kent will explain how this new pump compares to the original, what is included in the kit and why, how to make a new plugin wiring harness, demonstrate step by step how to install this pump in a late W123 and explain the differences you will face when instal
In this instructional video, Kent demonstrates how easy it is to install the Klima heater control valve ( monovalve replacement ). If you have one of these popular and classic Mercedes, this is the best upgrade you can make for your climate control.
This an instructional "how-to" video that comes with our ACCIII performance upgrade it. It will show you how to install a protective fuse for your auxillary water pump and how to replace the rotton foam climate control hose under your dash. Total run time is 16:29.
In this video Kent will show you how to remove the center wood panel and the climate control switch panel so you can replace the 5 small bulbs behind it that light up the switch panel and the buttons behind it. It is not as difficult as it may first appear if you understand the procedure.
This 8-minute on-demand video will show you how Kent uses the Super 3M trim adhesive to glue dash and center wood pieces in a W123. The principles apply to other models as well as almost any loose rubber piece on any car.
I think well over half of all W123 wagon rear hatch wiper assemblies are either stuck, broken, inoperative, noisy or just won't part properly. The main reason for all these failures is lack of service ( ie lubrication ). It just never gets done.
This 10-minute instructional video will show you how to remove the center shift cover wood piece, replace the broken pin in the back, and reinstall the cover back into your W123.
In this 17 minute instructional video Kent will walk you through removing and installation a VCV valve off the back of the injection pump and the proper way to adjust the linkage travel for best performance. A number of tips will be shared to reduce frustration and prevent problems.
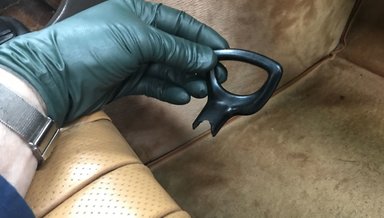
Please note that this video class is included free with the purchase of one of our remaining new 450SL or 380SL steering lock assemblies.
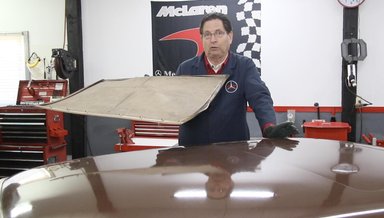
Just so you know, this video class is included free with the purchase of one of our steering lock repair services or a new or rebuilt steering lock assembly. Please see the related products below.
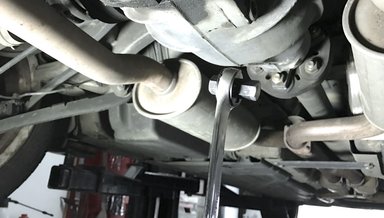
In this 14 minute instructional video, Kent will show you how to safely remove the side window lower trim without damaging the car's paint or the soft aluminum trim. He will do this using his special tool to do this job. He will also show you how to install the trim back on without bending it.
This video ONLY covers some of Kent's "tips and tricks" on installing a harmonic balancer back onto the front of the crankshaft on an old Mercedes engine. The specific procedure was filmed while doing a front crank seal replacement on a 1983 240D.
There are a number of things that can go wrong with a W123 instrument cluster.
In the video instruction, Kent will show you the step-by-step procedure on how to safely remove the instrument cluster from the dash. It will require our special dash pull tools that can be purchased separately.
In this 16-minute instructional video, Kent will explain some of the challenges and problems you may have to deal with when changing your instrument cluster bulbs by not removing the cluster.
To many people, automotive electrical systems and testing are a big mystery. It is not as complicated as you might think.
In this video, Kent will show you how he fixed his leaking tires on his chrome alloy wheels by using Miracle Paint. This is a full 22-minute step-by-step instructional video. Watch the video "trailer" below to give you a better understanding of what is involved in this procedure.
In this 19 minute instructional video, Kent takes an old 1970 280SE engine in the back of his shop and pulls the harmonic balancer off the front of the engine, removes the old seal, uses his custom-built puller to remove to seal race, and then shows you how to use the tools in his seal replacemen
This 25-minute video is a supplement to Kent's other instructions on replacing diesel engine front crank seals. It is offered free of charge with one of the seal replacement kits.
There seems to always be a better way to do it.
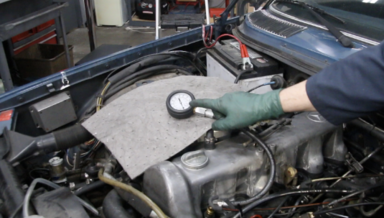
In this video Kent will share some set up tips as well as explain what is in the compression tester and an overview of how it is used.
This video will show you how to remove the front crank seal race using the factory tool and using Kent's custom puller. It will also demonstrate a very easy way to install a new replacement race before installing a new seal.
Kent will get right up behind the rear end hub plate and show you close up how to remove and replace a sway bar link. This is not a difficult job especially if you follow the sequence shown in this 7- minute video.
In this 13-minute video instruction Kent will show you how to make your own accumulator tee hose connection either using parts from. our kit ( see below) or parts you purchase yourself. This video is included free with the purchase of our kit.
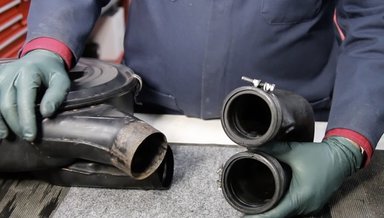
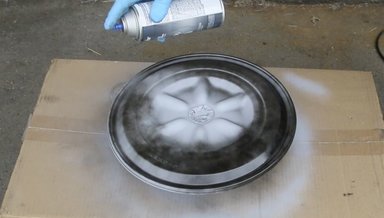
Kent will take you over to his workbench and completely take apart a rusty and old fuel delivery system from a 1980 450SL and put it all back together again with some shiney new paint and parts supplied in his special kit for these cars. This video runs for 24 minutes.
In this 30 minute-long video Kent will walk you through what he did for the rear suspension on his 1983 240D.
In this 46 minute very detailed step-by-step video instruction, Kent will show you how to remove the fuel delivery system from your 1986 to 1991 420SEL, 300SE, 300SEL, 560SEL, 560SL, and 560SEC, take it over to your bench and take it all apart, install new pumps, filter, accumulator, and hoses, t
This 17-minute video will cover the removal of an old Hirschmann power antenna and then Kent will show you how to troubleshoot the wiring plug in the car to see if you are getting proper power back to the antenna. No sense in replacing a faulty antenna until you make sure your wiring is OK!
In this 30-minute instructional video, Kent will walk you through the steps to remove your old antenna, test and troubleshoot your wiring plug coming to the antenna, and install our aftermarket antenna using the special wiring connectors we include in the kit.
In this xx-minute long video, Kent will show you how to install our aftermarket power antenna in your 116, 123, or 123 sedan or coupe. Removal of your old antenna is not covered in this on-demand video but it is very straightforward once you remove the inner fender well panel.
In this 28-minute instructional video Kent with show you how to do a compression test on your own Mercedes gas engine and explain how to interpret the results. It is very important you do this procedure BEFORE "throwing" parts at your engine trying to fix a performance problem.
You might be surprised to realize you spark plug holes need cleaning - and yes some REALLY need cleaning! This 5-minute video will demonstrate Kent's method of cleaning the threads in the cylinder.