
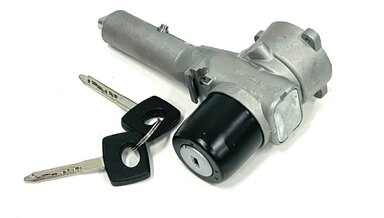
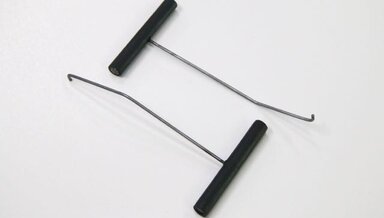
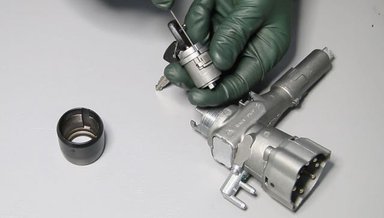
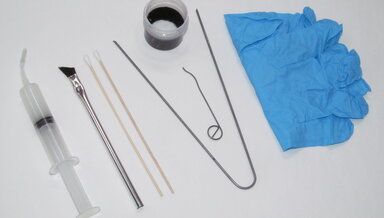
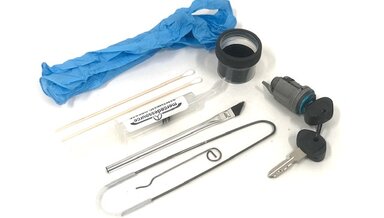
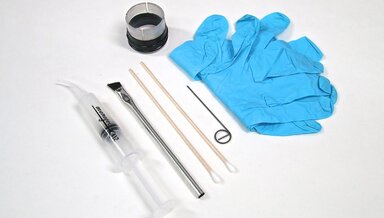
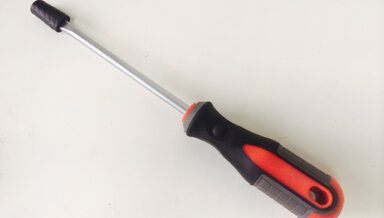
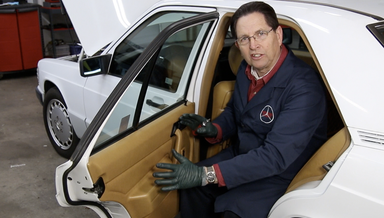
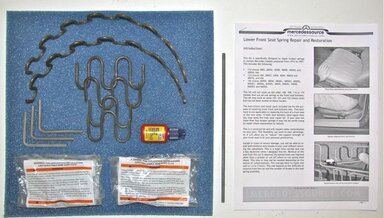
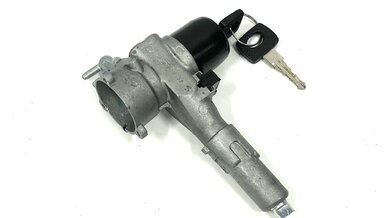
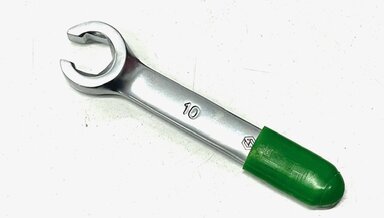
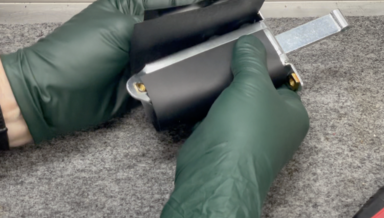
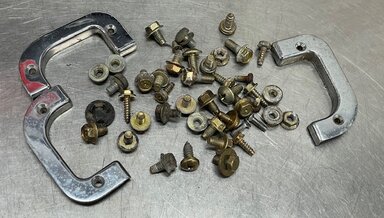
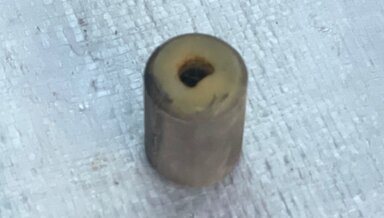
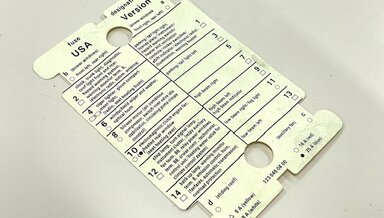
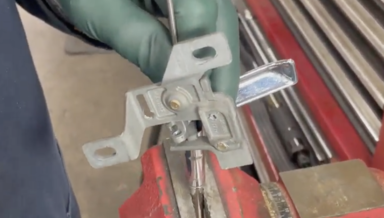
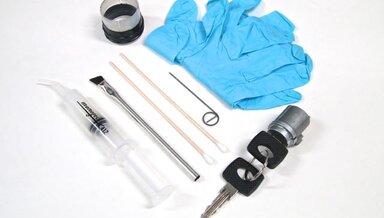
Late W123 Most W126 Late R107 Chassis Ignition Lock Cylinder Tumbler Installation Kit w/ Video Instructions and Tools
If you are having problems with a sticking key a new tumbler a new tumbler and key may or may not fix your problem.
Kent's Factory Service Manuals collection is going on sale now. CLICK HERE.
If you are having problems with a sticking key a new tumbler a new tumbler and key may or may not fix your problem.
This video is free with the purchase of Kent's new dash cluster pull tool set. If you just want to see how he uses the tools and some tricks to get difficult clusters out you are welcome to purchase this video separately. Approximate run time is 20 minutes.
We have been informed that there is no plan to manufacture new steering locks again for these classic cars. This will also fit the European R107 280SL.
Removing a Mercedes instrument cluster from any of the chassis listed is easy with these special "pull" tools. Many owners do not realize that the instrument cluster is just pushed into the dash panel and not held in with any bolts or screws.
Wouldn’t it be grand if there was a way to remove your ignition tumbler without a key - then easily start the car using a flat blade screw driver or needle nose pliers and drive away?
If you have been around old Mercedes for any length of time, you have probably run into a problem with your ignition key starting to "stick" or one that does not turn. This problem can leave you stranded and could cost hundreds of dollars to fix $$$.
If you are having problems with a sticking key a new tumbler a new tumbler and key may or may not fix your problem.
This video is not only going to show you how to remove and replace the “screw cap” style tumbler, but it also going to explain the theory of operation and how to avoid certain pitfalls when doing this job yourself. And YES, there are pit falls.
If you have been around old Mercedes for any length of time, you have probably run into a problem with your ignition key starting to "stick" or one that would not turn. This problem can leave you stranded and could cost hundreds of dollars to fix $$$.
NEW quality aftermarket part. Fits late 123 240D 300D 300CD 300TD 1980 to 1985. Use your existing motor
Any of us who have owned a 1977 to 1985 Mercedes W123 for any length of time have probably had to deal with the glove box door at some point. The hardest part is loosening and removing that weird little round slotted nut on the two hinge points.
Excellent used instrument removed from a 125,000 mile 300SD. Good work tach and clock.
Excellent used smooth working assembly as shown. Only comes with ONE high security original key. Complete with electrical switch, buzzer switch and vacuum switch for engine shutoff.
This video covers the step-by-step VERY detailed procedure for removing the W201 rear door panel, inspecting and lubrication components inside, and replacing the door panel without damage. This is why it is 30 minutes long! Kent really covers the subject in DETAIL!
Set of owner’s manuals as shown. These are not perfect but above average condition. The actual owner's handbook is in good condition with a little wear on top edge of the cover. Includes all booklets as shown along with original plastic case.
This was for a non-sunroof model, but as you can see on the back side, there is a factory cutout that will allow you to stall your own sunroof switch. Although not perfect, this may be one of the better 116 center dash wood pieces you will find.
For ONE 116, 123 and 126 Chassis Sedans, Coupes or Wagon Seat Bottom. This unique kit is designed to help you repair and restore one broken down front seat bottom so common in the 116, 123 and 126 chassis Mercedes built from 1973 to 1991.
Fits all chassis: 107, 114, 115, 116, 123, 126, 201 and 124. This repair manual is written for all Mercedes models from the early 1970s up to the later 1980s.
If your 1990 to 1995 W126, W201, or W124 key is starting to stick in the ignition pay attention! Better to replace the part before the key gets stuck leaving you stranded. Because of the lockout feature in these cars, if you can not turn the key on - you can not even move the car off the road.
As of the summer of 2020 steering locks for these old diesels are no longer being manufactured! Your only option if your key is sticking ( and you already tried replacing the tumbler and key) is to try to find a good used unit or a new old stock unit in some warehouse.
For all 108, 109, 114, 115, 107, 116, 123, 126, 201, and 124 chassis from 1965 to 1995. I wrote this repair guide to show you how to properly remove your instrument cluster and replace worn or failing components.
For all 123 chassis cars sedans, coupes and wagons from 1977 to 1985. Why a glove box manual? Of all the Mercedes glove boxes I have worked with from the early 1950s up to the mid 1990s, the 123 chassis glove box has proven to be the one that needs the most attention AND
Interior water leaks are very common. More so on the older 108, 116, 114, 115. 123, and 126 chassis than on the 201 and 124 chassis. This is largely due to the fact that the older models used rubber seals on the rear glass and on the front windshield (except the 126).
It is not as easy to remove the right side underdash panel in the 126 chassis as you might think. There are a number of hidden fasteners, some of which can be a little confusing as to how to remove properly. Kent has seen a lot of broken and damaged panels that confirm this.
Understanding how an inside rear view mirror is mounted is essential for proper removal and replacement. The mirror can be easily damaged if you do not know the tricks to getting it snapped back into the mounting bracket in the head liner.
In this video Kent shares his technique for removing a padded steering wheel on most 107, 114, 115, 116, 123, 126, and 201 to 1985 chassis. These are the models WITHOUT an airbag.
The driver's side W124 under dash panel can be a little tricky to remove due to all the hidden fasteners. Without knowing where these are and how to get to them, removal can be frustrating and it is easy to break the plastic covers.
You will need to remove the W126 chassis center console upper wood panel when replacing the climate control switch panel, replacing any of the upper switches, replacing burned out light bulbs and /or when remove the center console or the upper dash.
In this video Kent shares his secrets on how to make the inside of an old Benz look like new again. Now granted, you must have a reasonably good car to start with. He is not going to show you how to reupholster, change seats and door panels, etc.
Finding W116 front seats in even half of this condition is almost impossible. These are amazing for the age. No rips, tears, worn spots, and solid padding. These came out of a 300SD with only 130,000 original miles and have been in storage for ten years.
Think age here. Many of these shifters on our classic Mercedes are starting to get loose inside the shifter, and when the old bushings fail, you will get a lot of slop side to side when you shift between gears. Note: These bushings are different from the bushing that go on the shift levers.
Are you replacing the rear struts in your ABC SL500? Are you planning to do a coil-over conversion?
In this 6+ minute video, Kent will demonstrate how to locate and cut out 3-inch (approx.) holes in your trunk carpet to allow you to remove the bolts and the wire attached to the top of your ABC strut. Then you can replace it or install coil-over shocks in their place.
If your front seat fore and aft adjustment handle is cracked or broken, we have the right replacement upgrade for you, which is stronger and more comfortable to pull on. This is a beginner DIY job on most seats. You cut and chisel the old handle off and bolt on this new handle.
Replace your old and worn knob with this inexpensive genuine Mercedes part.
This is the actual carpet piece you will receive.
These are very high quality bolts. Same 8mm thread and small 10mm head as the originals. 8 is enough for two front seats.
This is a sample of the nut plate they go into on the back attach point on the W123 front seats.
You can purchase these individually, but you might want to consider replacing all four at the same time. If one is broken others are not far behind. Watch Kent's video below to see what happened to him and why he decided to manufacture these himself.
This replacement part that we make here in our own shop is built stronger with a solid core pin so it will not break off like the originals ( See 560SL wood below for reference ). The original is only stapled on and is prone to fall off with age.
Study the picture carefully. This is exactly what you will receive. Only one available
Used seat track hardware as shown.
This 10-minute instructional video will show you how to remove the center shift cover wood piece, replace the broken pin in the back, and reinstall the cover back into your W123.
Fits all models 1976 to 1985 with a wood shift cover. 240D 300D 300CD 300TD 230E 280E and 280TE. A very common issue that plagues almost all W123s. The factory pin in the back on the wood shift cover seems to always break off, leaving the wood piece loose in the center console.
See picture below to compare to original. We think this one works better due to the offset and the longer handle.
If your 560SL key starts to stick, is stuck, and won't turn, or you have lost your key this is your solution. In the first two situations, your lock is probably worn out, and trying to change out the tumbler will not solve the problem.
This was removed from a vehicle and was tested. ONLY ONE KEY but it is the low-security key so easy to get a duplicate made. Very good key movement, good working electrical switch, and door buzzer switch mounted. Fits Early 107 and later W116 chassis only ( see list in title )
Very hard to find with the pull tab intact for the chrome inside handle. Most are broken off. If this mechanism is all corroded you may not even get your hatch open. This one came out of a very clean wagon with no corrosion and the mechanism operates smoothly. Chrome handle not included.
There are a number of things that can go wrong with a W123 instrument cluster.
In the video instruction, Kent will show you the step-by-step procedure on how to safely remove the instrument cluster from the dash. It will require our special dash pull tools that can be purchased separately.
Tired of trying to get your bent dash wood to stick to the dash? Have you tried to glue it or use tape only to have it loosen or fall off again? This new kit Kent put together will solve the loose dash wood problem once and for all.